Working with Easy Batch
Open Tasks
The page Open Tasks offers you a overview for every document, that is enqueued for processing, but was not succesfully processed yet.
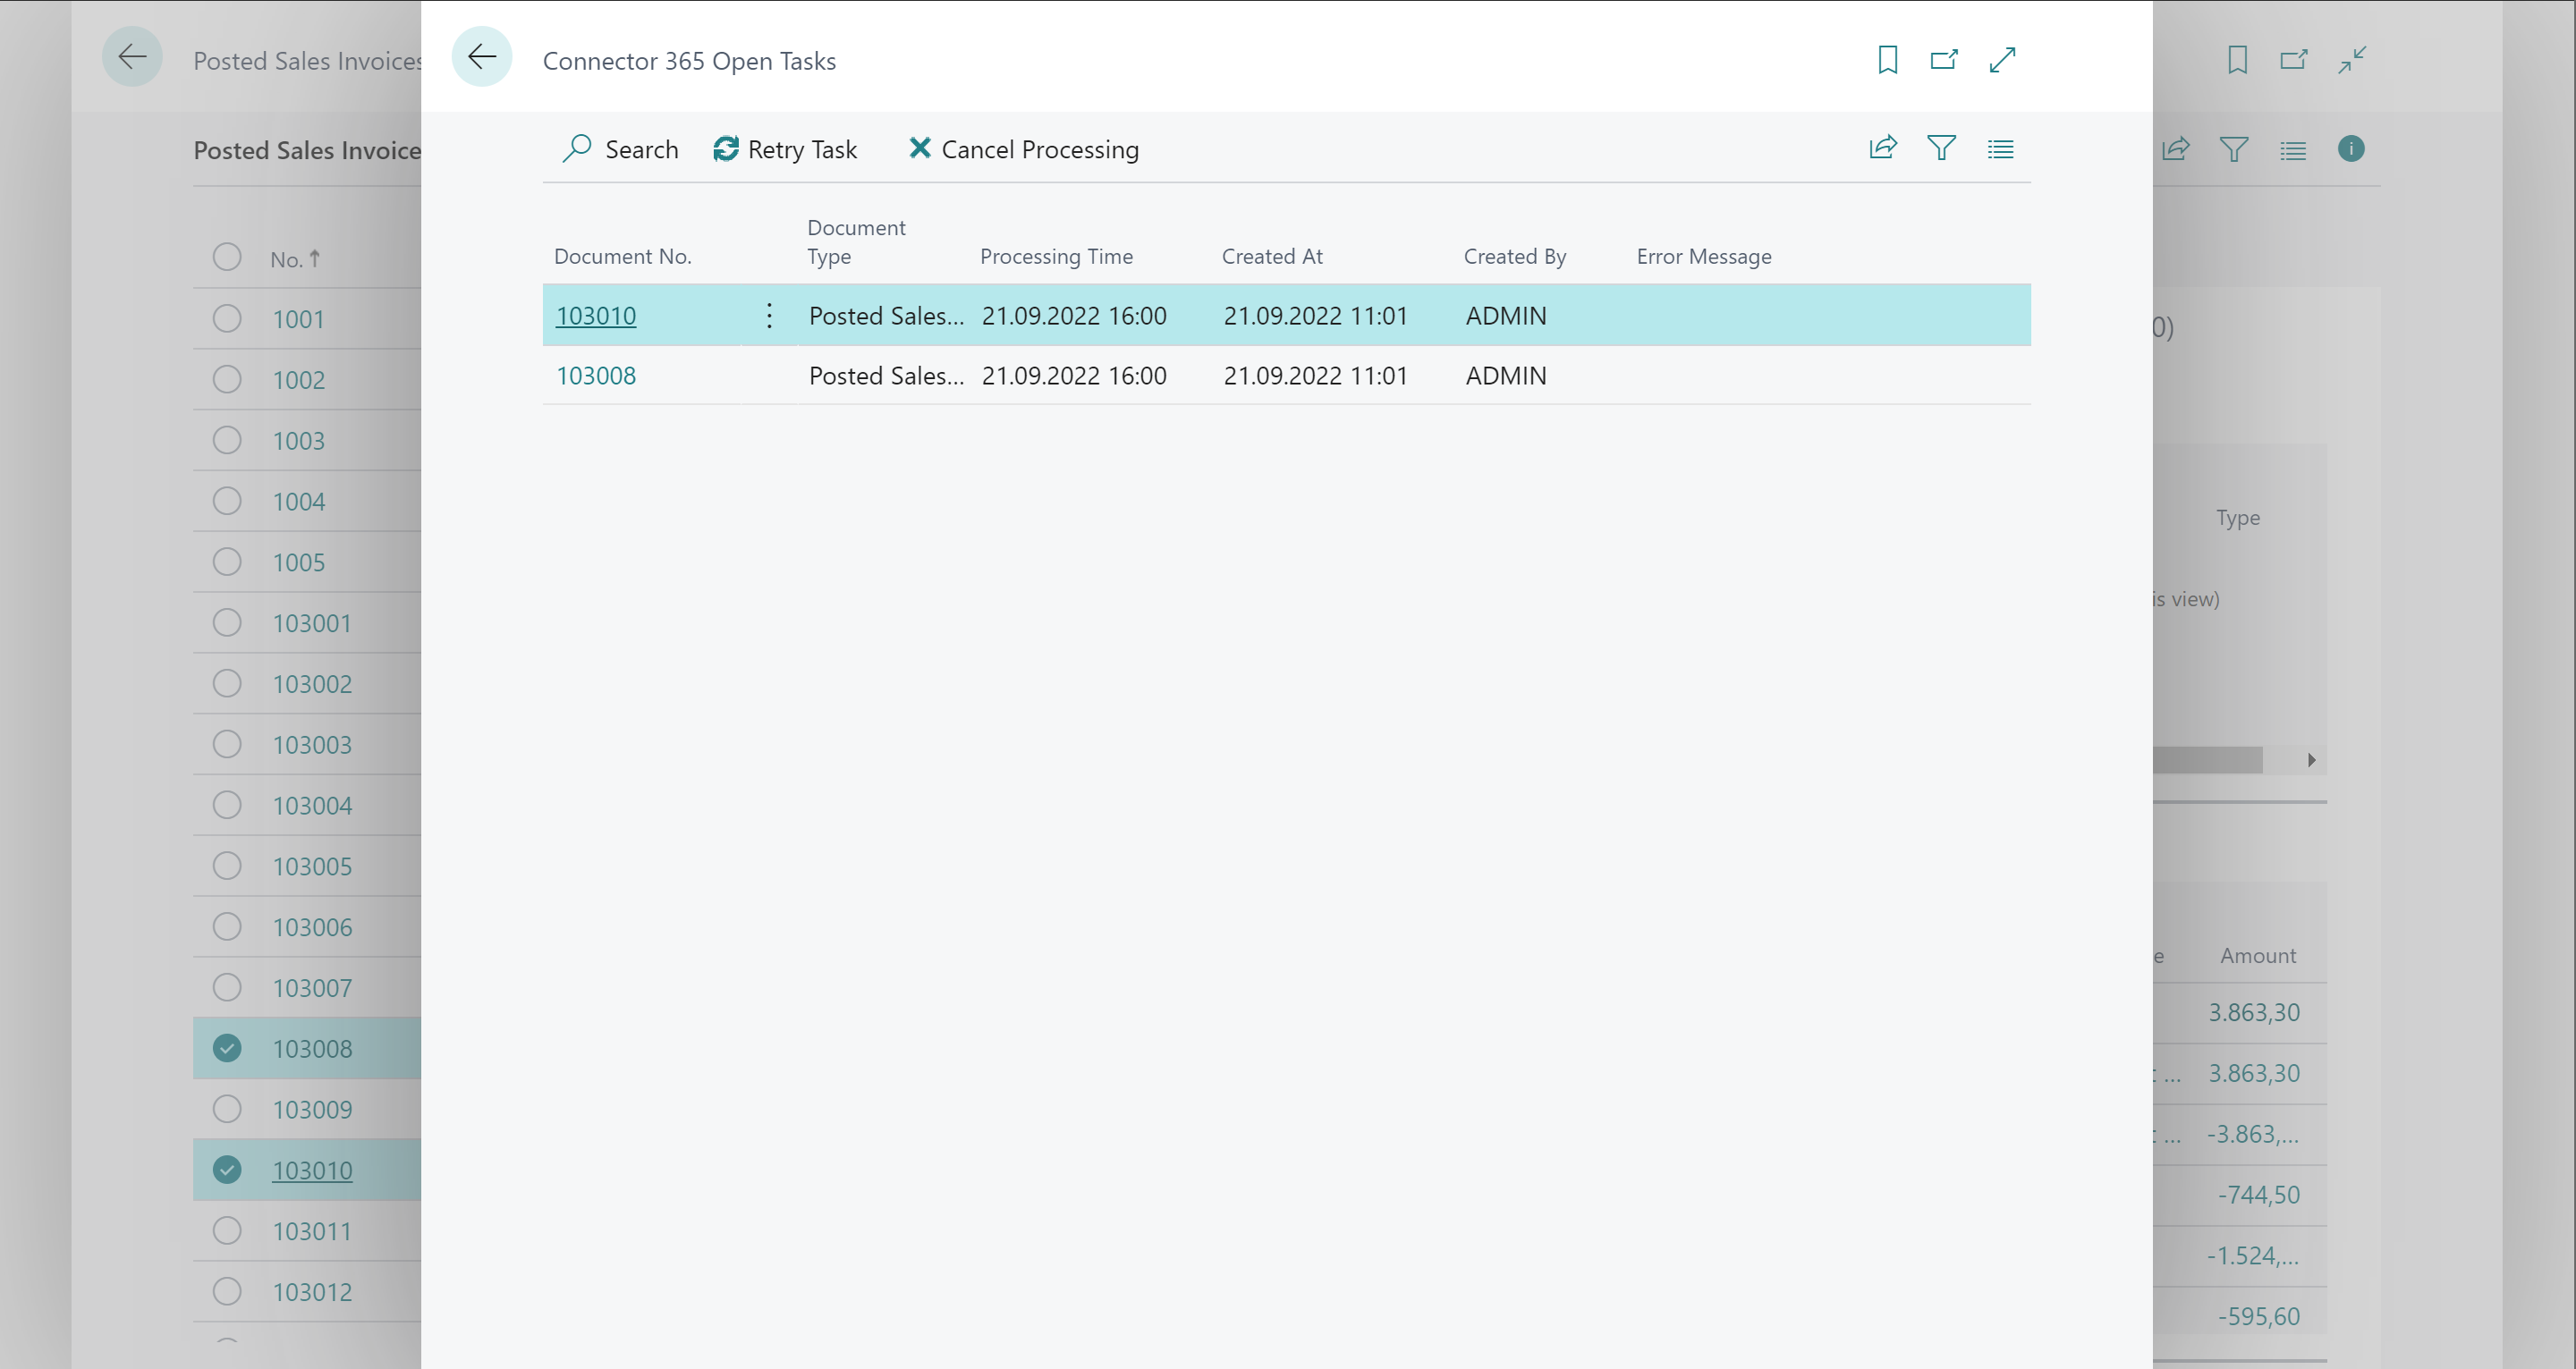
Besides the planned processing time you can check the field Error Message for reasons why the processing failed.
Using the action Cancel Processing the processing can be stopped for individual documents.
The action Retry Task enqueues the selected tasks to be processed again.
Only tasks that ran into an error will be considered by using this action.
Via Reports you can display a preview of the selected report as well as the email text.
Clicking the Document No. lets you navigate to the specific document.
After the processing succeeded the tasks will be removed from this list and afterwardsarchived in the Connector 365 Activities.
In the following table you will find further information on the fields from the list:
| Field | Meaning |
|---|---|
| Document No. | Click on the document number to go directly to the corresponding document. |
| Document Type | This shows you the type of document for the corresponding document number. |
| Processing Time | Displays the time at which this task is to be processed. If you have set up a “fixed” processing time in the Connector 365 setup, the processing time for the task is shown here. |
| Created At | Specifies the time and date the task was created. |
| Created By | Specifies the user the task was created by. |
| Error Message | If an error has occured while processing the task, the corresponding task is highlighted in red. This field also displays a short error message describing the error. |
| Released | Shows whether the task has been released and will be processed. |
| Account Type | Displays the account type that is linked to the document. |
| Account No. | Specifies the account number that is linked to the document. |
| Contact No. | Displays the contact number that is linked to the document. |
| Files | Here you can see the number of additional files that are sent together with the document for the selected task. These include standard attachments, document attachments and document line attachments. |
| Jobmode | Indicates how the document is processed. Examples of jobmodes are e.g. Mail or XRechnung. |
| Recipient Address | When sending via email, you can see here to which recipient address (email address) the docuemnt will be sent. |
| Sender Address | When sending via email, you can see here from which sender address (email address) the document is being sent. |
| Report ID | Displays the report ID with which the document is created. |
| Subject | The subject with which the email is sent is displayed here. |
| File Name | Shows the file name of the generated report with which the email is sent. |
| Further Recipients | For additional email recipients, you can view the number and other recipients addresses here. |
| Leitweg-ID | In connection with our Connector 365 XRechnung, you can see the specified Letiweg-ID of the recipient for this XRechnung here. |
| E-POST Settings | In connection with our Connector 365 E-POST, you can view further information for the corresponding jobmode, such as whether your E-POST is in color, whether with or without coverletter, whether in duplex, whether it is registered mail and what type of registered mail and whether the submitted task is sent in test mode or not. |
