Setup
Adding default attachments per report
Default attachments are a great way to save time when adding files to your emails. If you use the same attachment in every email, just add it as a default and it will be automatically attached to every email.
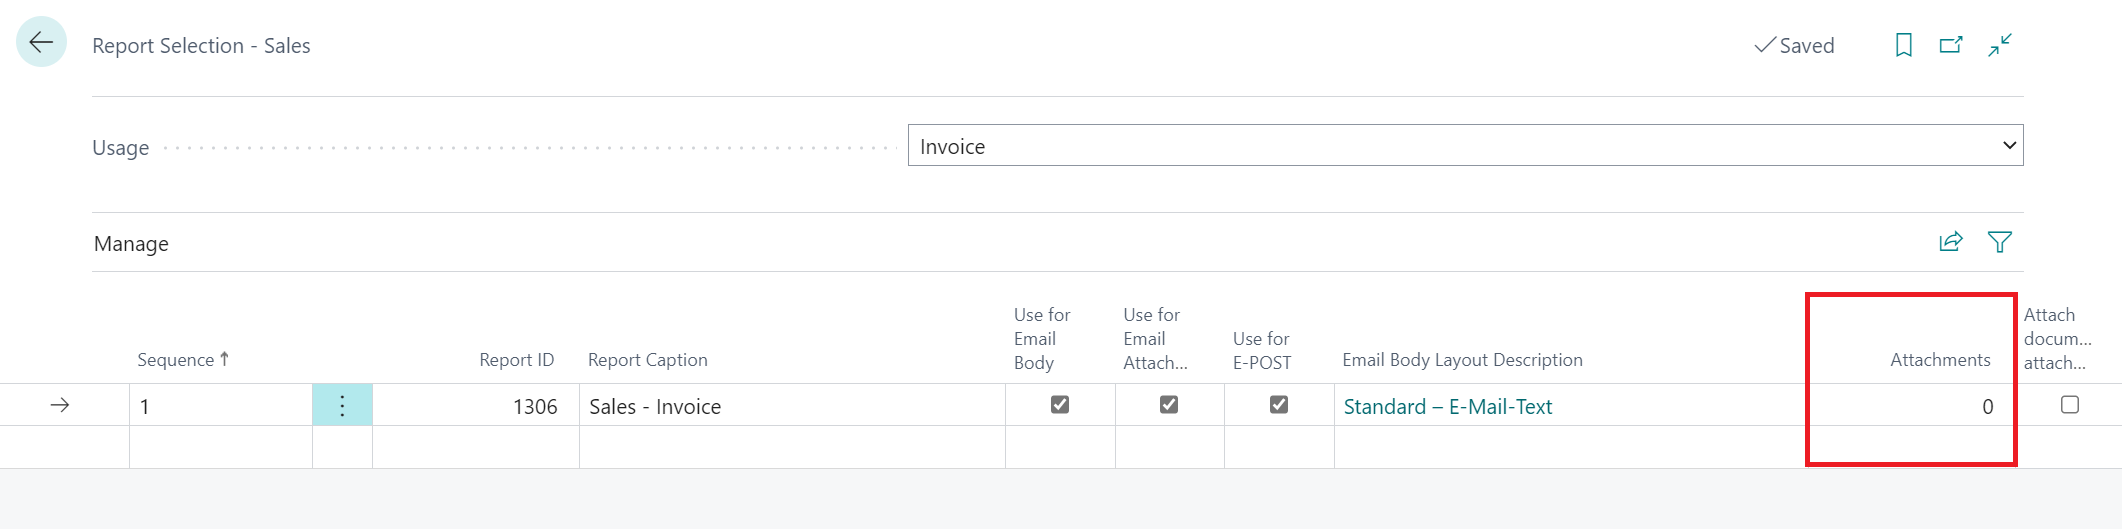
Start by opening the report selection of the report you want, in this example we will use Sales and Invoices. If you are not sure where to find the report selector, you can always use the Dynamics 365 Business Central search feature.
As you can see in the screenshot above, there is also a new Attachments field in this window. The process of adding new default attachments works like adding attachments to your regular mail. Start by clicking on the 0 to open the attachment dialog and add your files via “New” and “Add attachment”.
Setting attachments per language code
|
|---|
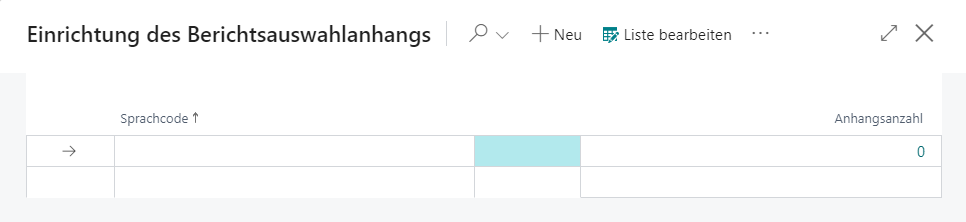
The first step is to define the language code for which attachments are to be added. To do this, select the relevant language code and click on 0 under Attachment No. to define the attachments for this language.
A new window will open:
|
|---|
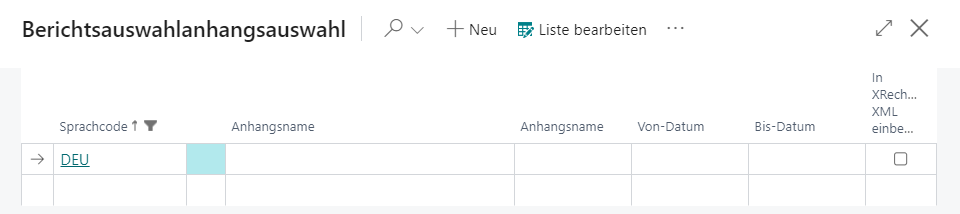
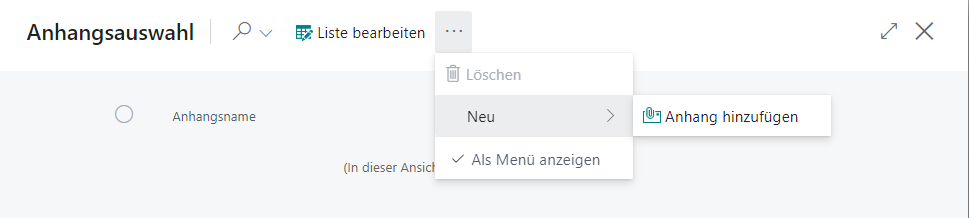
By clicking in the Attachment Name field, a new attachment can be added. The table containing your attachments for our Connector 365 apps will open. There are no files here the first time you use it. Add these using the three dots via New and then Add Attachment.
|
|---|
After adding the file(s), it is possible to use the “From Date” and “To Date” fields to define whether a default attachment should only be attached for a certain period of time. This can be used, for example, to add an advertisement to your mails that is only valid for a certain period of time. If you are unable to edit the date fields, first click on “Edit List” in the menu and then set the date.
Here it is also an option to set whether your attachment should always be embedded in the XRechnung XML when used with our Connector 365 XRechnung.
|
|---|

Attach Document Attachments and Document Line Attachments per Report
|
|---|
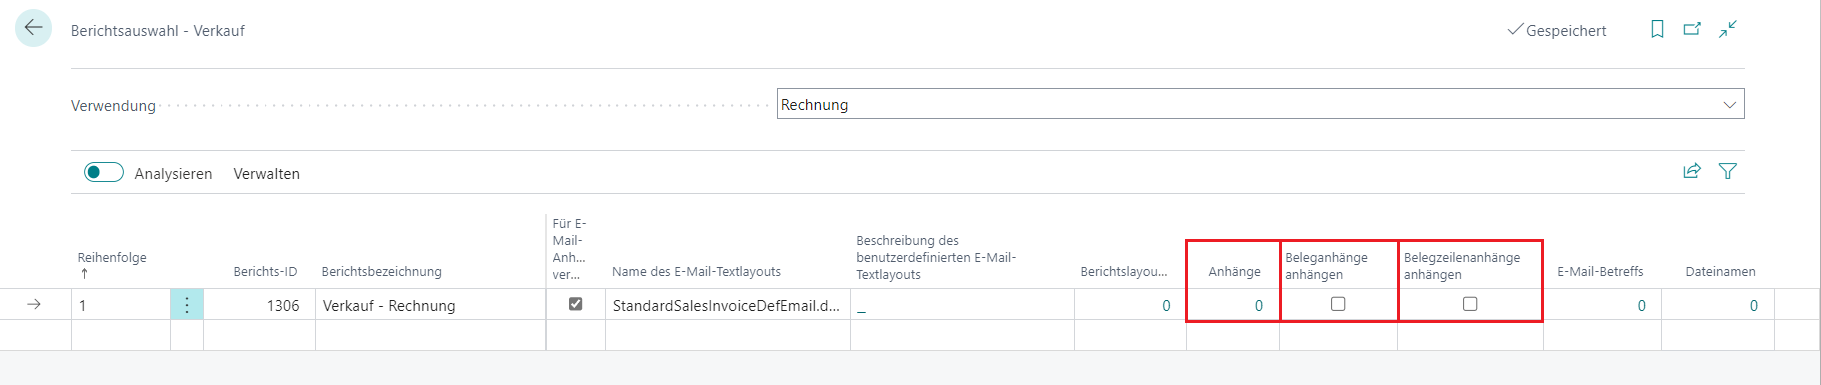
In addition to the field for adding standard attachments, you have two other fields with which you can contrl whether your document attachments should be attached by default for the selected report.
Once the attachments are set, a mail can be sent as usual, instructions on how to do this can be found in “Working with Mail Attachments Plus” under Report Default Attachments
