Setup
Document layouts
In addition to the rather general setup in the report selection, it is possible to specify for each customer or vendor which document type is to be provided with which subject. This setting will then override the setting from Report Selection, if any.
First, navigate to the desired customer or vendor. Once there, click “Navigate “ -> “Document Layouts “ in the menu bar. Before you set up the subject, you must first set up the usage or report. Once this is done, you can use the “Filename “ field to set your desired subject.
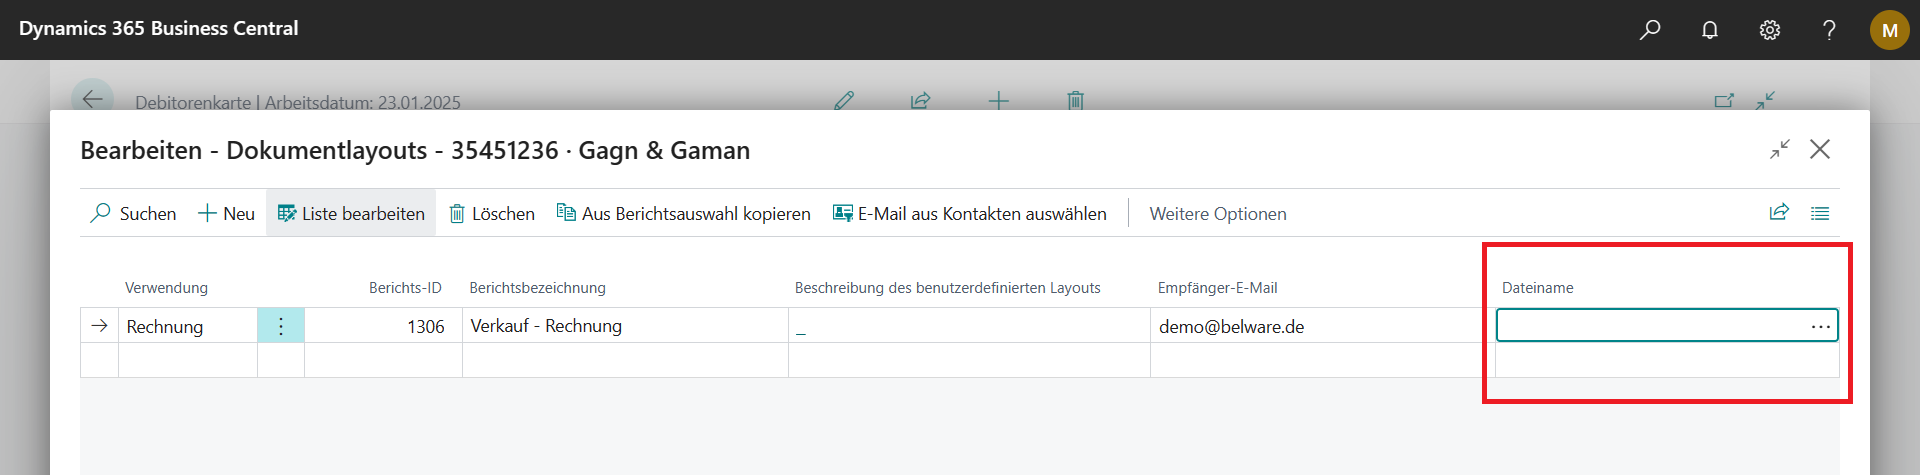
On the one hand, there is the option to formulate a static subject, which is inserted unchanged into all messages for the respective use.

Another option is the formulation of dynamic subjects, which adapt to the content of the individual message by using placeholders.
You can define the placeholders by clicking the […] button in the Filename field at the right margin.
Define placeholders
The “File name placeholder “ window will now open.
Two fields are available to you:
Placeholder - Here you define how your placeholder should look like.
Definition - This field defines to which field your previously entered placeholder refers to.
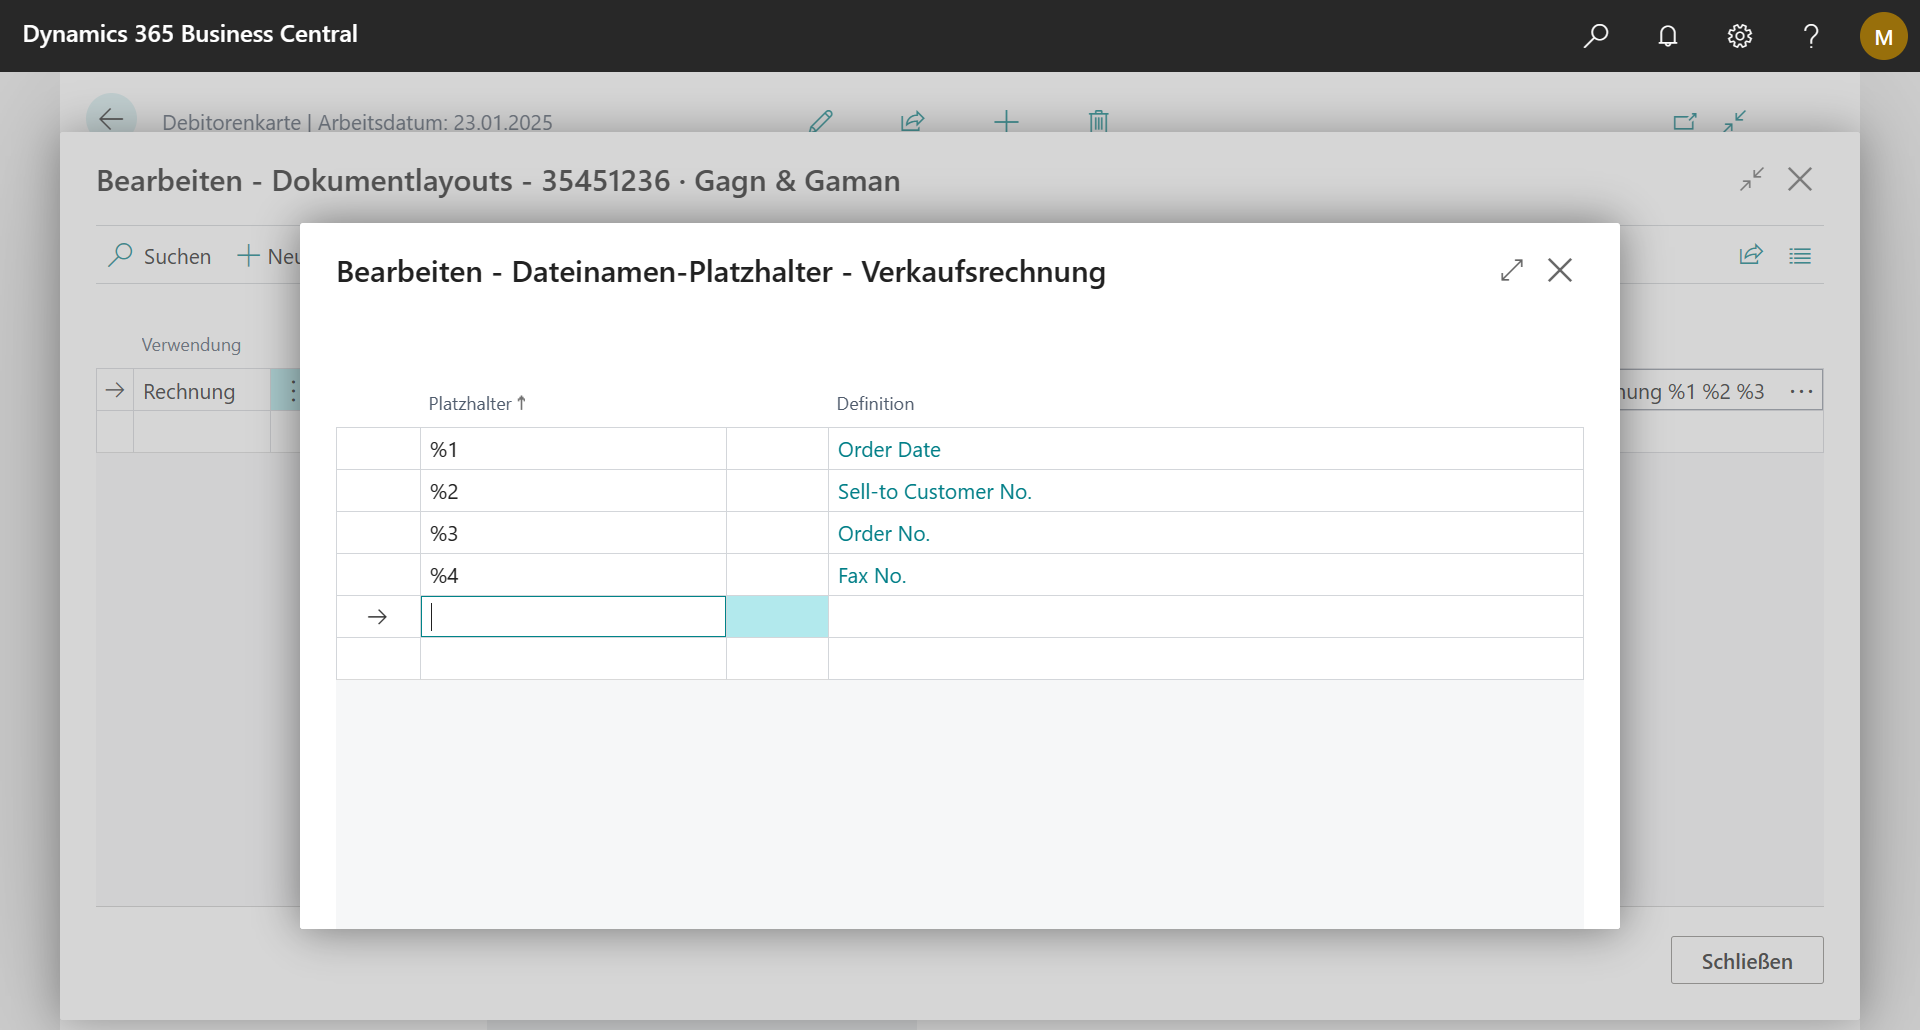
Creating a new placeholder.
First enter the desired placeholder in the Placeholder field. We recommend using placeholders here which could not accidentally appear in the subject, for example, if you define the placeholder Rech for the invoice number and the subject contains the word Invoice, the Rech part of the word would be replaced in the subject. It is best to use a combination of special characters and numbers or adjust placeholders so that they do not accidentally appear in words.
Now you have to define the field to which the placeholder refers. To do this, click on the Assist button of the Definition field.
Now another window opens, in which all fields from the company data, as well as all fields from the header data of the underlying report are available to you. You can select a field assignment for each placeholder.
|
|---|
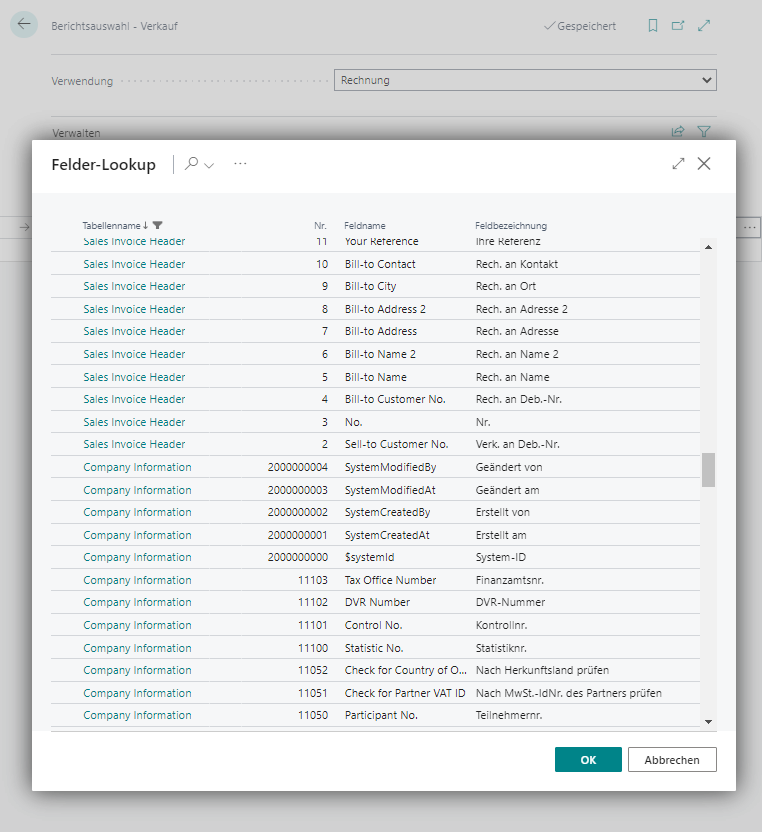
Repeat this process for all the fields/placeholders you want to use in your subject.
If customized reports have a different structure, i.e. a different table is in the first place, this will also be
this will also be taken over into the table filter, whereby possibly useless fields will be displayed, or important fields could be missed.
For such cases there is the possibility to set the correct target table via an event subscriber depending on the report id.
More about this can be found at Events.
Example of a subject with placeholders
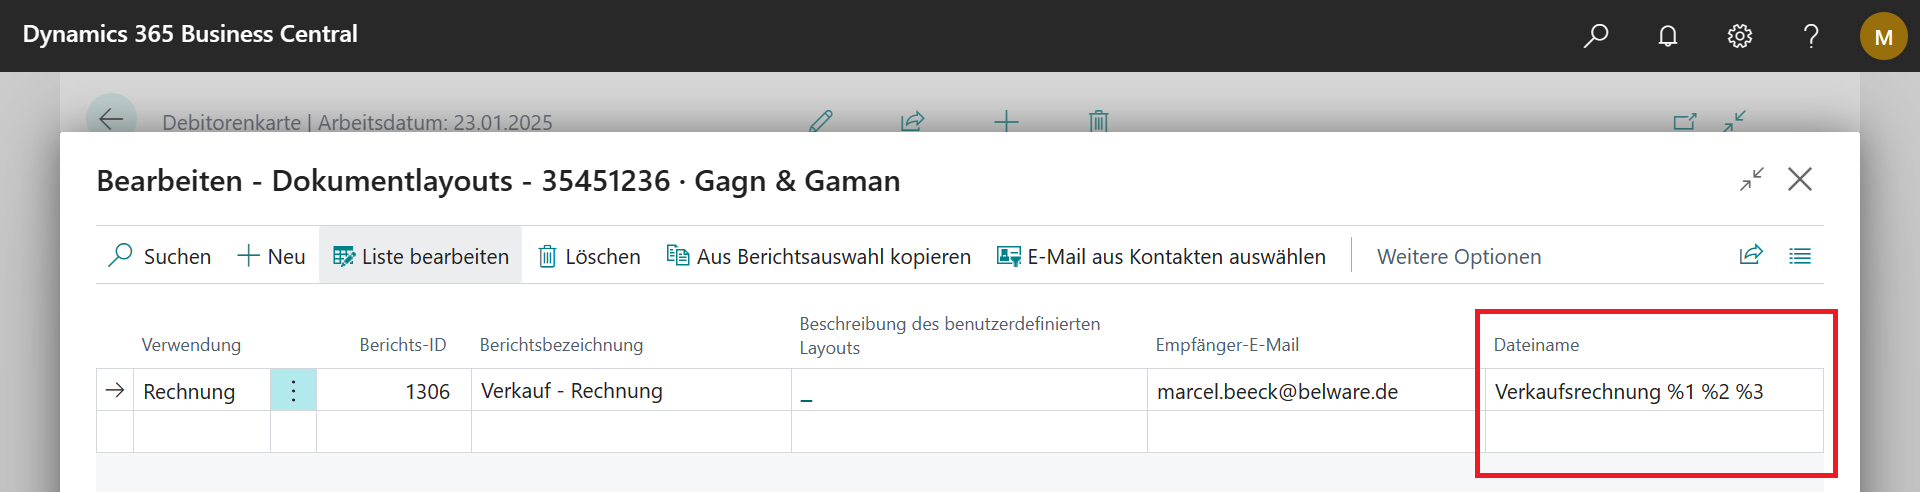
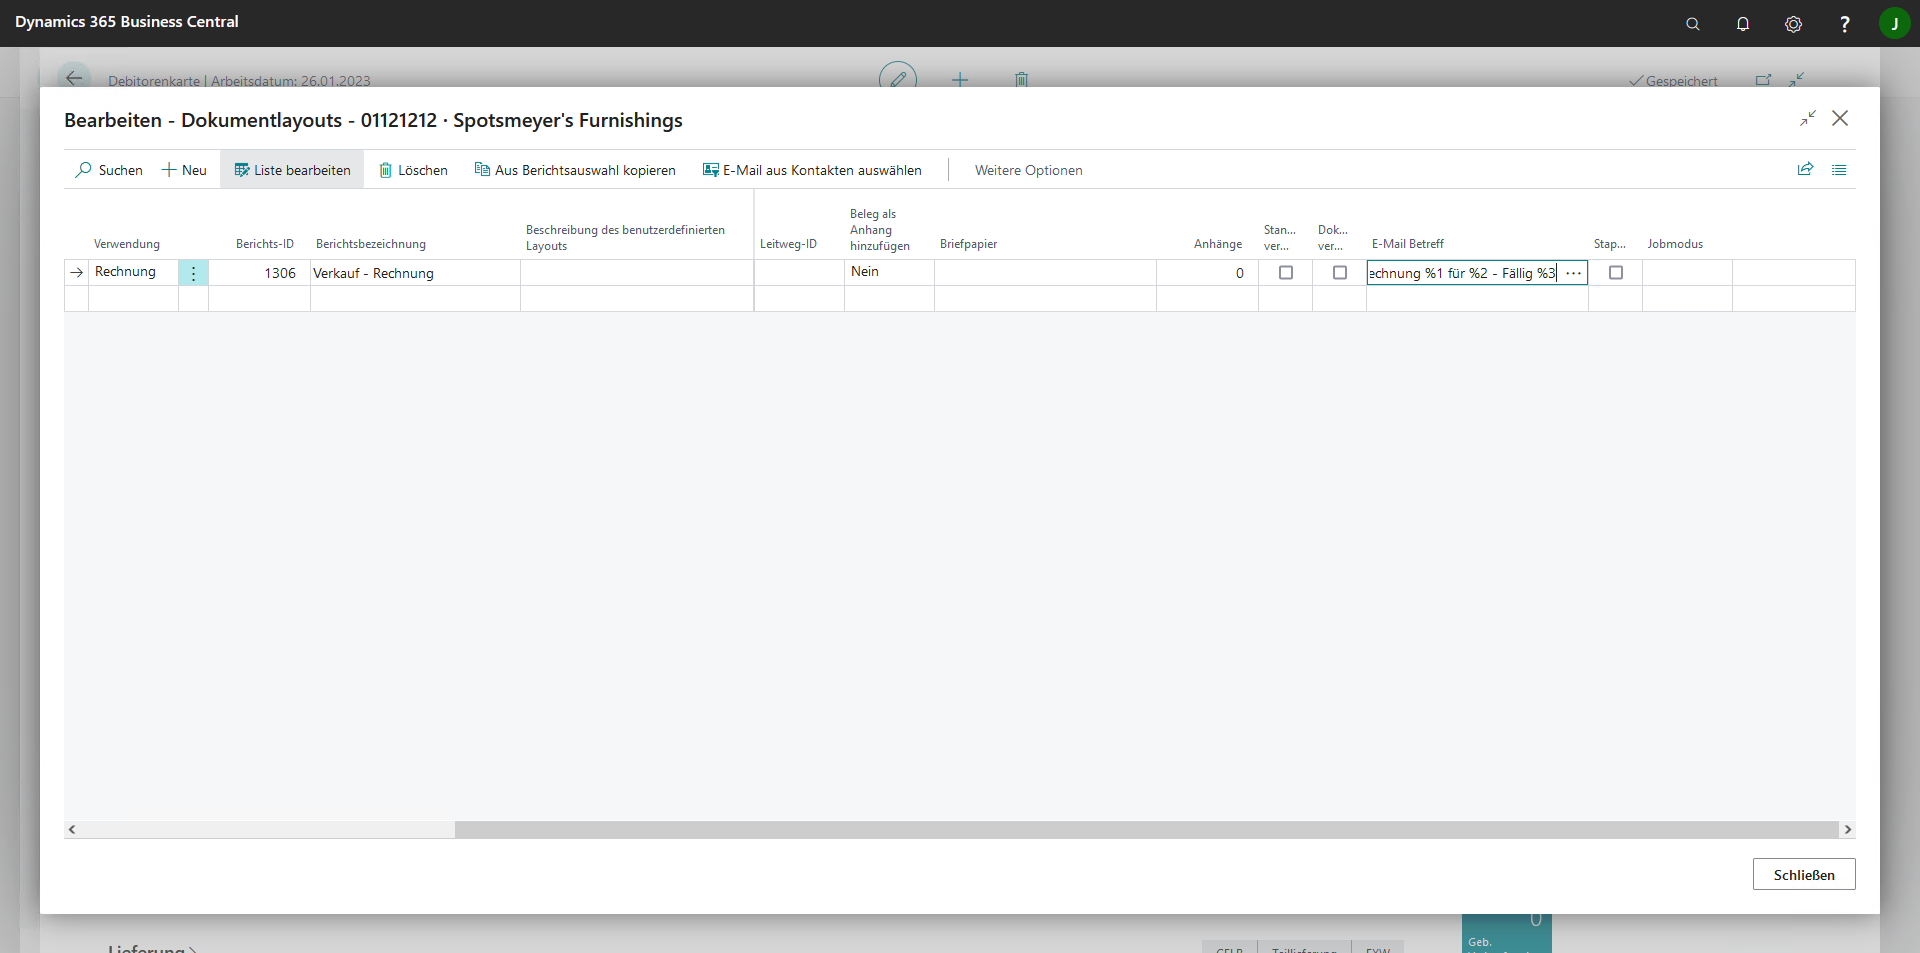
Now that you have defined your placeholders, you can define the subject with placeholders. Close the placeholder setup and click again in the “Filename “ field. For our example, we have defined the following placeholders for an invoice.
- %1 - the invoice number
- %2 - The recipient name
- %3 - The due date
With this we could now for example, build this subject: Our invoice %1 for %2 - Due date
How the subject then looks in use, you will learn in the next step.
