Setup
To ensure that your documents are sent in your corporate design, you must first set up the Connector 365 PDF. The steps required for the basic setup and subsequent use are explained below.
General
For the general setup of the PDF app, search via Tell me for Connector 365 Setup and open the corresponding link. Then click on PDF Setup. The setup for the app folds out.
|
|---|
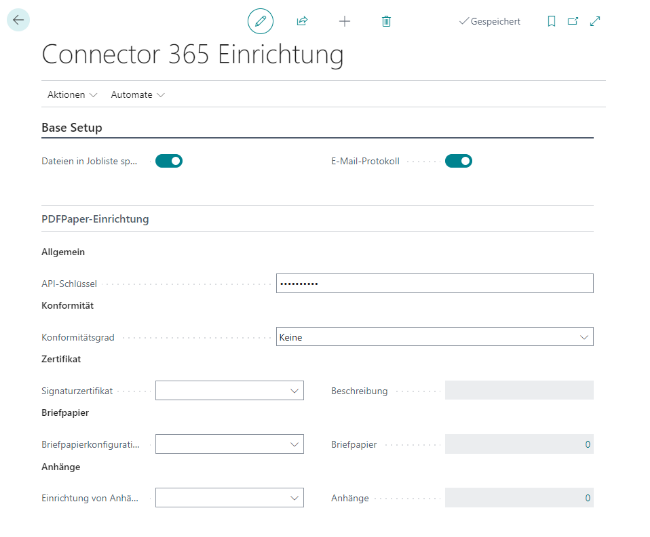
API-Key
The first field you fill in is the API-Key.
You will receive your API key from us. You can request this using the followong form or contact us by email. The API key is vital to be able to use the app.
Conformance level
Under the document settings field, you can specify the Conformance level. This specifies the confromance level that a PDF file should receive when it is created.
Further fields
Before you can fill in the other fields, it is crucial to store the corresponding files in the system. We will now show you in detail which files are involved and how to store them for stationery, certificate and attachments.
Stationery
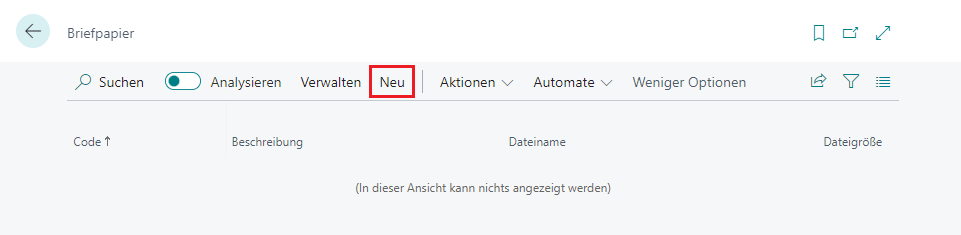
You must define your stationery in pdf format in the system before you can set up the stationery configuration. Search via Tell me for stationery.
If you are using the PDF app for the first time, no stationery is stored there yet. Therefore, click on the New button and store the desired stationery using drag & drop. Alternatively, click on the field and browse your files before adding the desired file here.
|
|---|
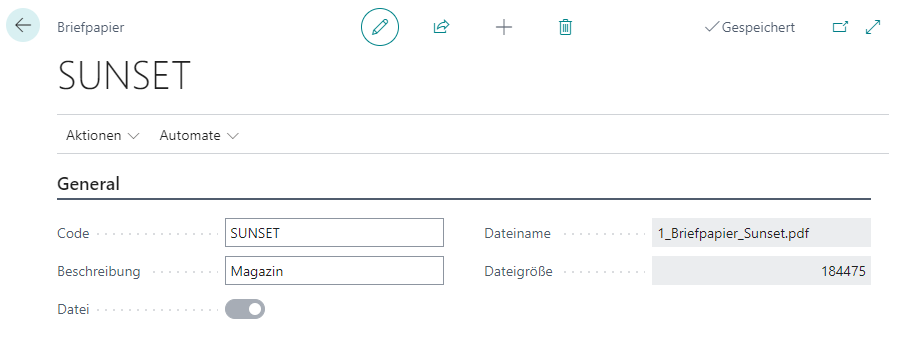
Assign a code and a unique name to your stationery. The clearer the code you choose, the easier it is to configure the stationery afterwards. It is also possible to add a description for further information. You will also find information on the file name and file size here.
|
|---|
Stationery configuration
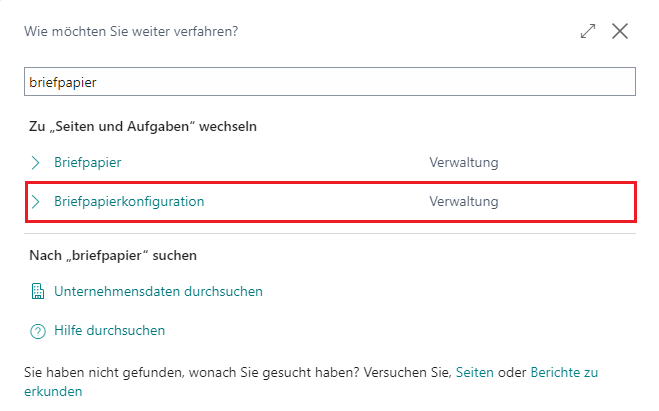
Once you have saved your stationery. Open via Tell me the stationery configuration. No stationery configuration is defined here for initial configuration.
|
|---|
You can add a new stationery configuration by using New. The following steps and options are requied for the stationery configuration:
- Assign a Code to your stationery configurations.
- Optionally, you can enter a description in which you further define the code.
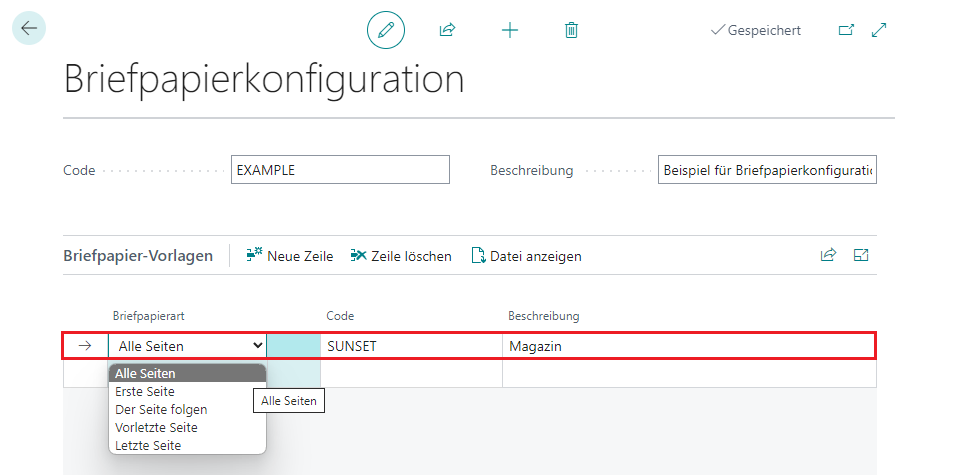
- In the table under the stationery type tab, specify the page or pages for which your letterhead is to be used.
The following options are available:- All pages
- First page
- Follow the page
- Previous to last page
- Last page
There are numerous options for configuring the pages of your stationery. You can define one stationery for each option or section of the pages. Below are various examples to illustrate the possible configurations.
Example 1
The easiest configuration is if you want to use the same stationery for all pages. To do this, select All pages as the stationery type and enter the desired stationery using a code.
|
|---|
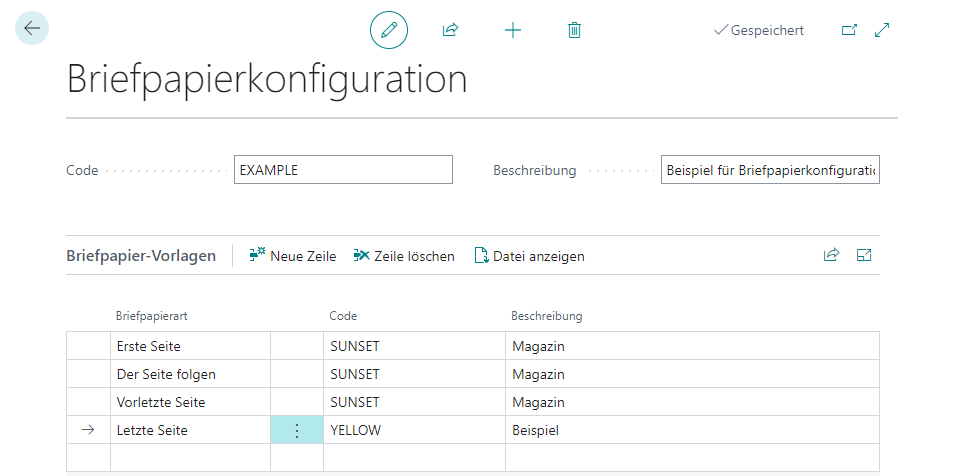
Example 2 2
However, there is also the option of using the configuration to define a different stationery for individual pages or sections. Below you can see various example configurations where the pages have been assigned different stationery.
|
|---|
Certificate
You have the option of storing a signature certificate in the setup. The difital signature not only guarantess the author for subsequent authentication, but also the content of the document at the time of signing. This is because the certified document cannot be changed, which ensures the integrity of the signature.
Signatur certificate
You can specify the signature certificate only in the Connector 365 Setup. Click on the box here and select one of the signatures you have stored. If you have not yet stored a signature, click on New. Then add your signature file by drag & drop or by browsing your files.
The following window opens after you have added a file:
|
|---|
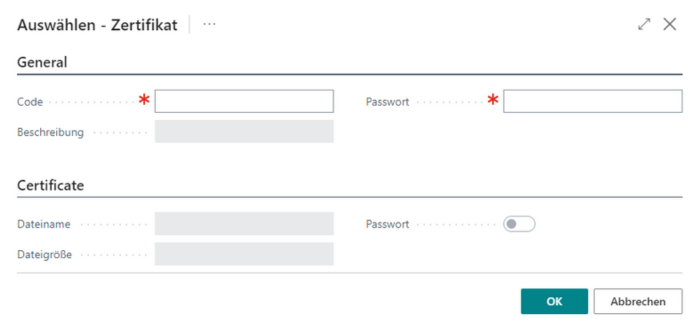
In contrast to the figure above, the file name and file sizes are filled with the data of your signature. Use the code to describe which signature it is, so that you can identify it if you use more than one. You can also enter further information about it in the description. By assigning a password, you ensure that the signature certificate can only be changed by authorized users.
You can store several signature certificates, but only actively use one in the app. To change the signature certificate, select another signature certificate that is already stored or add it first using the steps above.
Attachments
At this point in the Connector 365 Setup, you can store your attachments and configure them. However, it is also possible to search for attachments by using Tell me. In the attachment management you can see all the media you have already added and use as attachments. You can add new media here by clicking on +New and adding the corresponding file using drag & drop or by searching in your files.
However, you can also add new attachments via Attachments in the Connector 365 Setup. Therefore click in the Attachment Setup field and click on +New for a new attachment configuration.
The following window will now open:
|
|---|
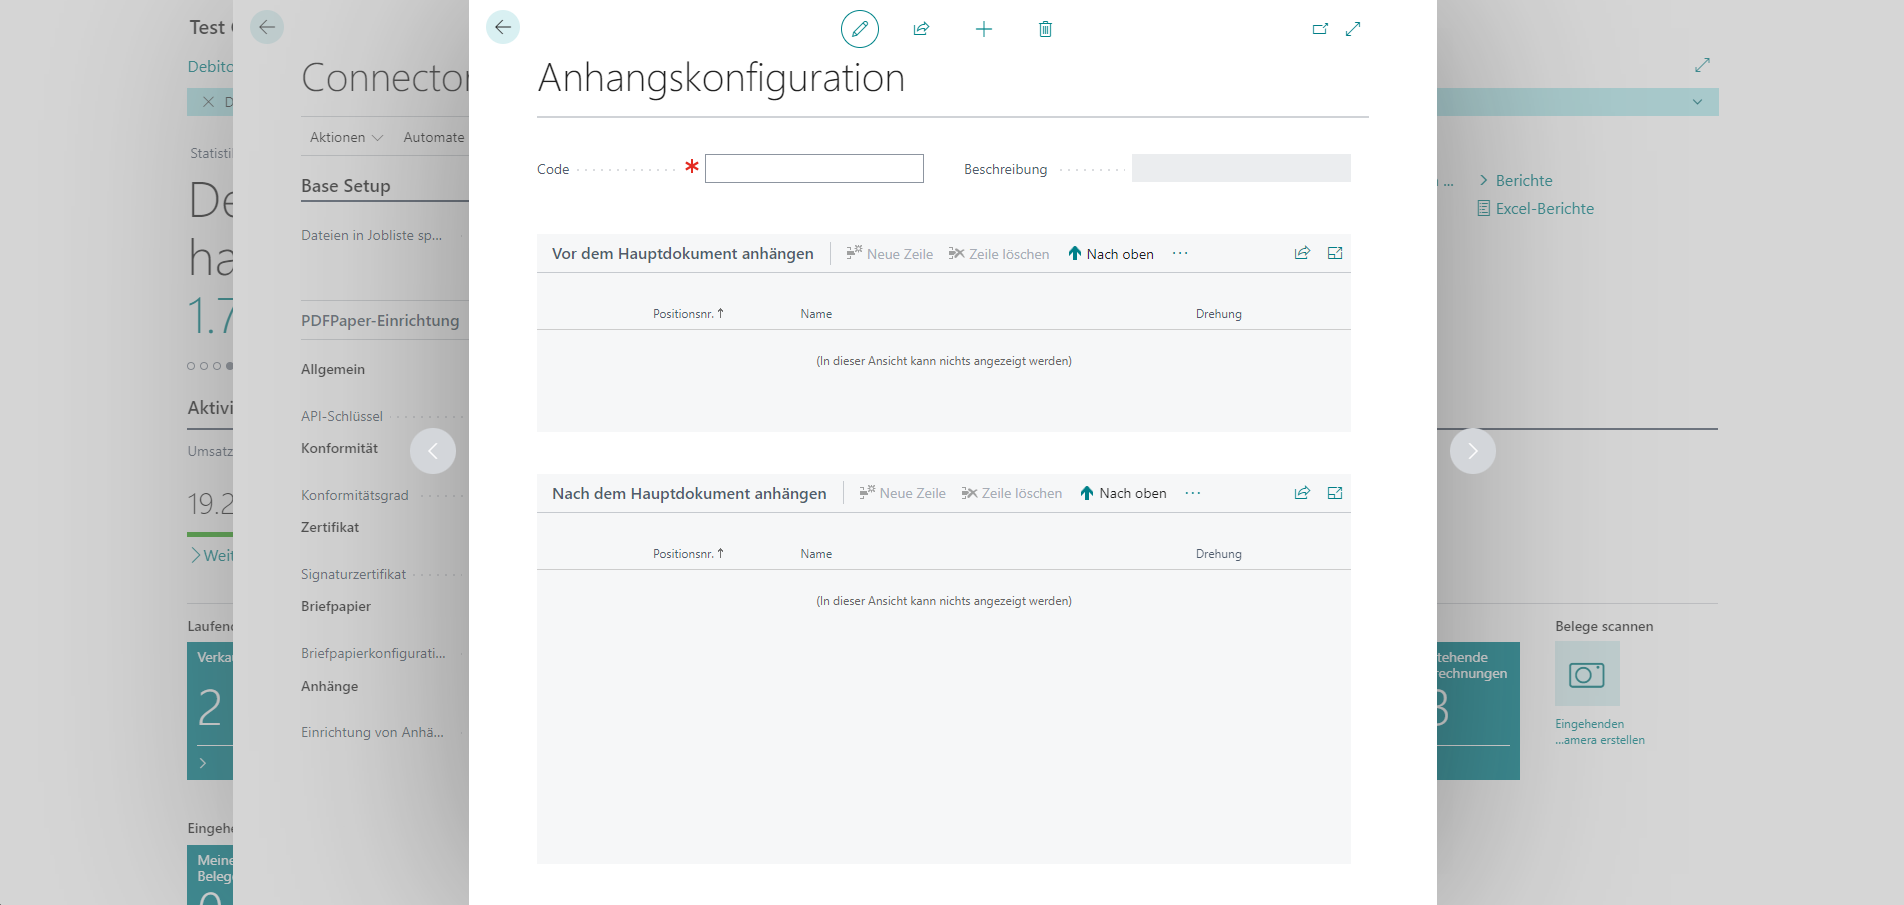
First, you must assign a code to your attachment configuration so that you can attach attachments before and after the main document. In addition to the code, you can also add a description to your attachment configuration.
Now you have two options to add attachments:
- Attachments before the main document
- Attachments after the main document
Attachments are added in the same way for both options. Howver, the position where the attachment is added differs. The following rules apply when adding attachments:
- An attachment can be added either before or after the main document.
- The Position no., short for position number, determines the order in which documents are attached.
- Each attachment can be separately rotate by 90° degrees, 180° degrees or 270° degrees.
- An attachment cannot be added multiple times within an attachment configuration.
When adding an attachment, select attach before the main document. Now click in the Name field next to item no. 1. Three dots ("…") appear on the right-hand side of the field. Click on them to open a new window.
|
|---|
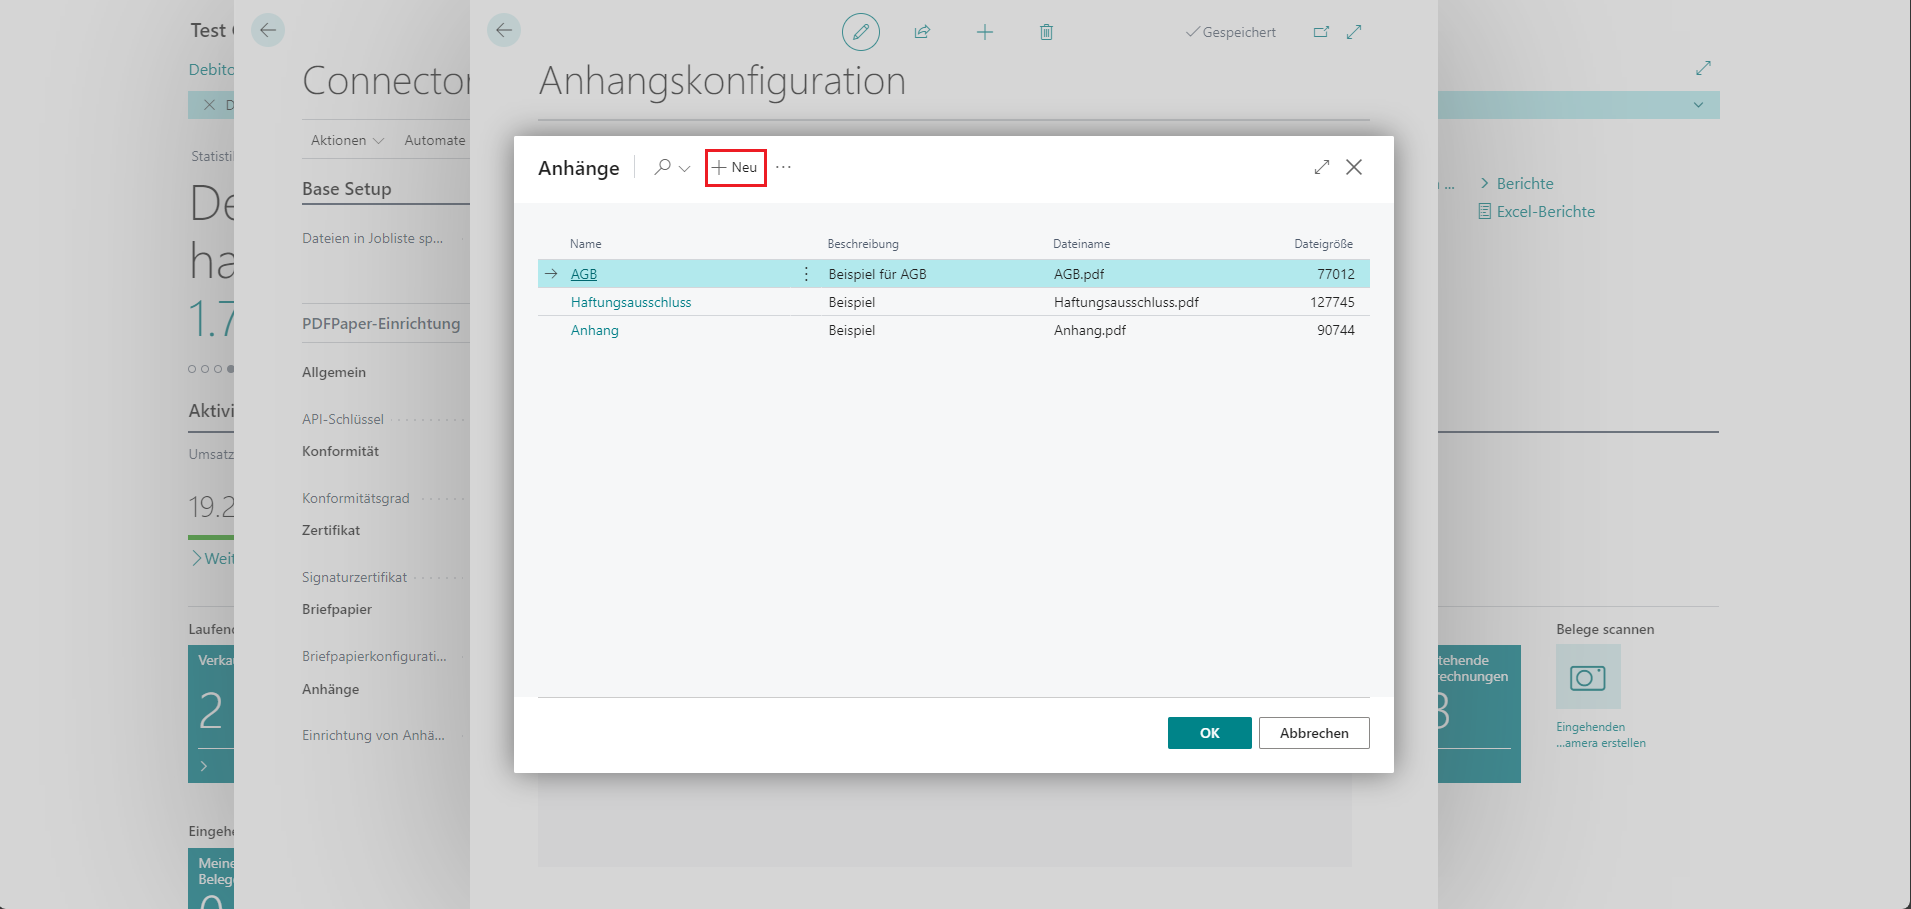
This shows the attachments already stored. You can now select from these or create a new attachment and then add it. If you want to add a new attachment, click on +New and upload the corresponding file.
The ploaded attachment will then also appear in the list.
Select an attachment and add it to your attachment configuration by confirming this with OK.
Here we have added the following attachments as an example, as you can see in the illustration:
|
|---|
In the following, we will briefly explain how you can remove an attachment that has already been added or how you can change the order of the attachments.
Removing an attachment
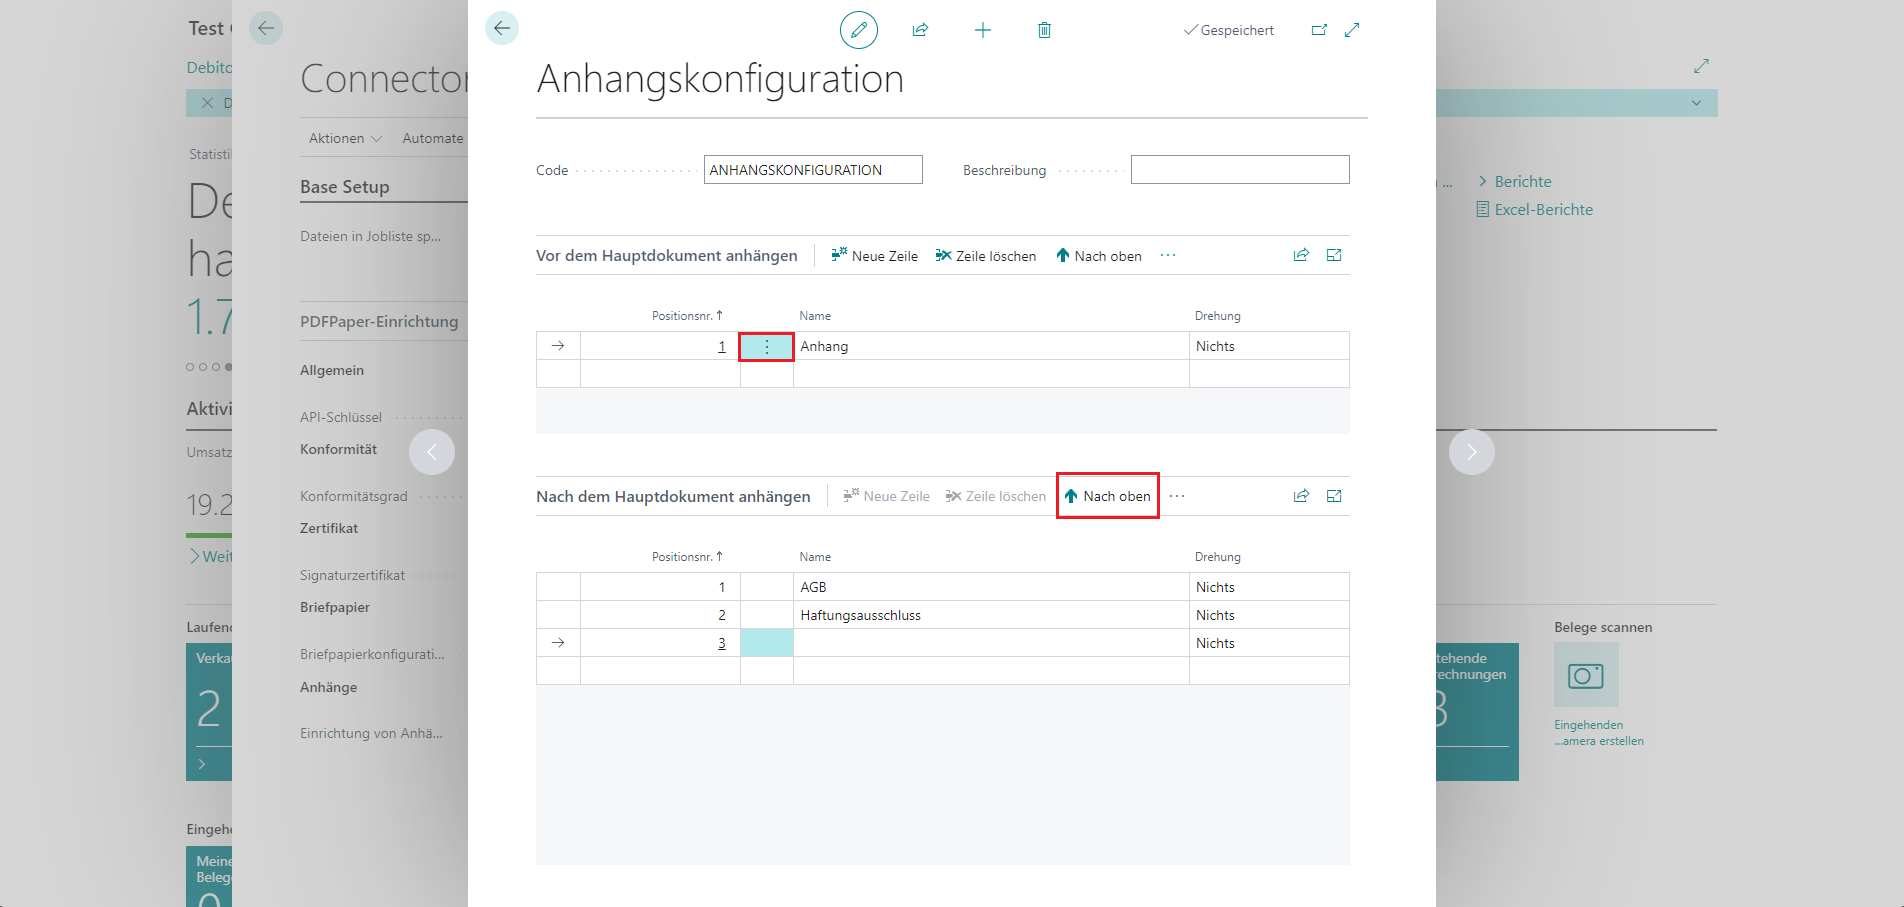
In Attach before the main document, we have stored the attachment with the code ATTACHMENT in the first position number. To remove this, click on the field between position no. 1 and attachment, as marked with the red rectangle. You can use the three dots to select Delete line and remove your attachment.
Changing the position of an attachment
In Attach after the main document, we have stored the attachment with the code “Terms and conditions” in the first position number and the attachment with the code “Disclaimer” in the second position number. We would like to swap the position of these two. As you can only move attachments up one level, you must select the attachment “Disclaimer” and then click the Up button. Repeat this according to the number of positions you want to move it up.
Rotate an attachment
You can define a rotation for each attachment. You can choose between 3 different rotations: 90° degrees, 180° degrees and 270° degrees. To do this, click on None for the corresponding attachment under Rotation and select the desired rotation. Your attachment will now be attached to the main document with the rotation you have set.
