Setup
To set the destination address logic as desired via the Connector 365 Addressee Control app, open one of the Report Selections pages.
| Usage | Supported |
|---|---|
| Sales | |
| Purchase | |
| Cash Flow | |
| Warehouse | |
| Reminder/Finance Charge | |
| Bank Account | |
| Project | |
| Service |
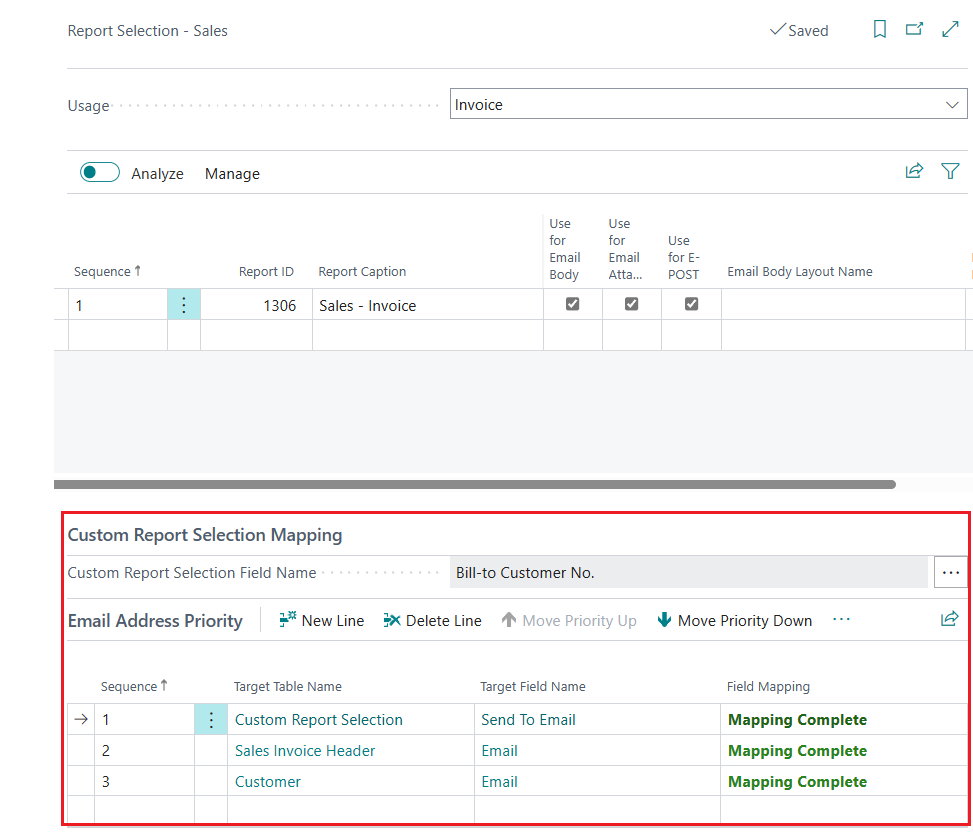
The Connector 365 Addressee Control app adds a subpage to supported report selection pages.
Example from the sales area -> Report Selection - Sales:
 |
|---|
With Connector 365 Addressee Control, you have the option of setting the target address logic for various report uses differently from the standard target address logic of Business Central.
In the following, which options you have to set up your own target address logic.
In the first step, define how the document layout should be assigned, e.g. to
- Bill-to Customer No. / Bill-to Vendor No.
- Sell-To Customer No. / Sell-to Vendor No.
Then define in the Priority of address area which table and which field should be used in relation to this. And in which order they should be pulled up by the system.
| Table | Example of field |
|---|---|
| Custom Report Selection |  |
| Sales Header | 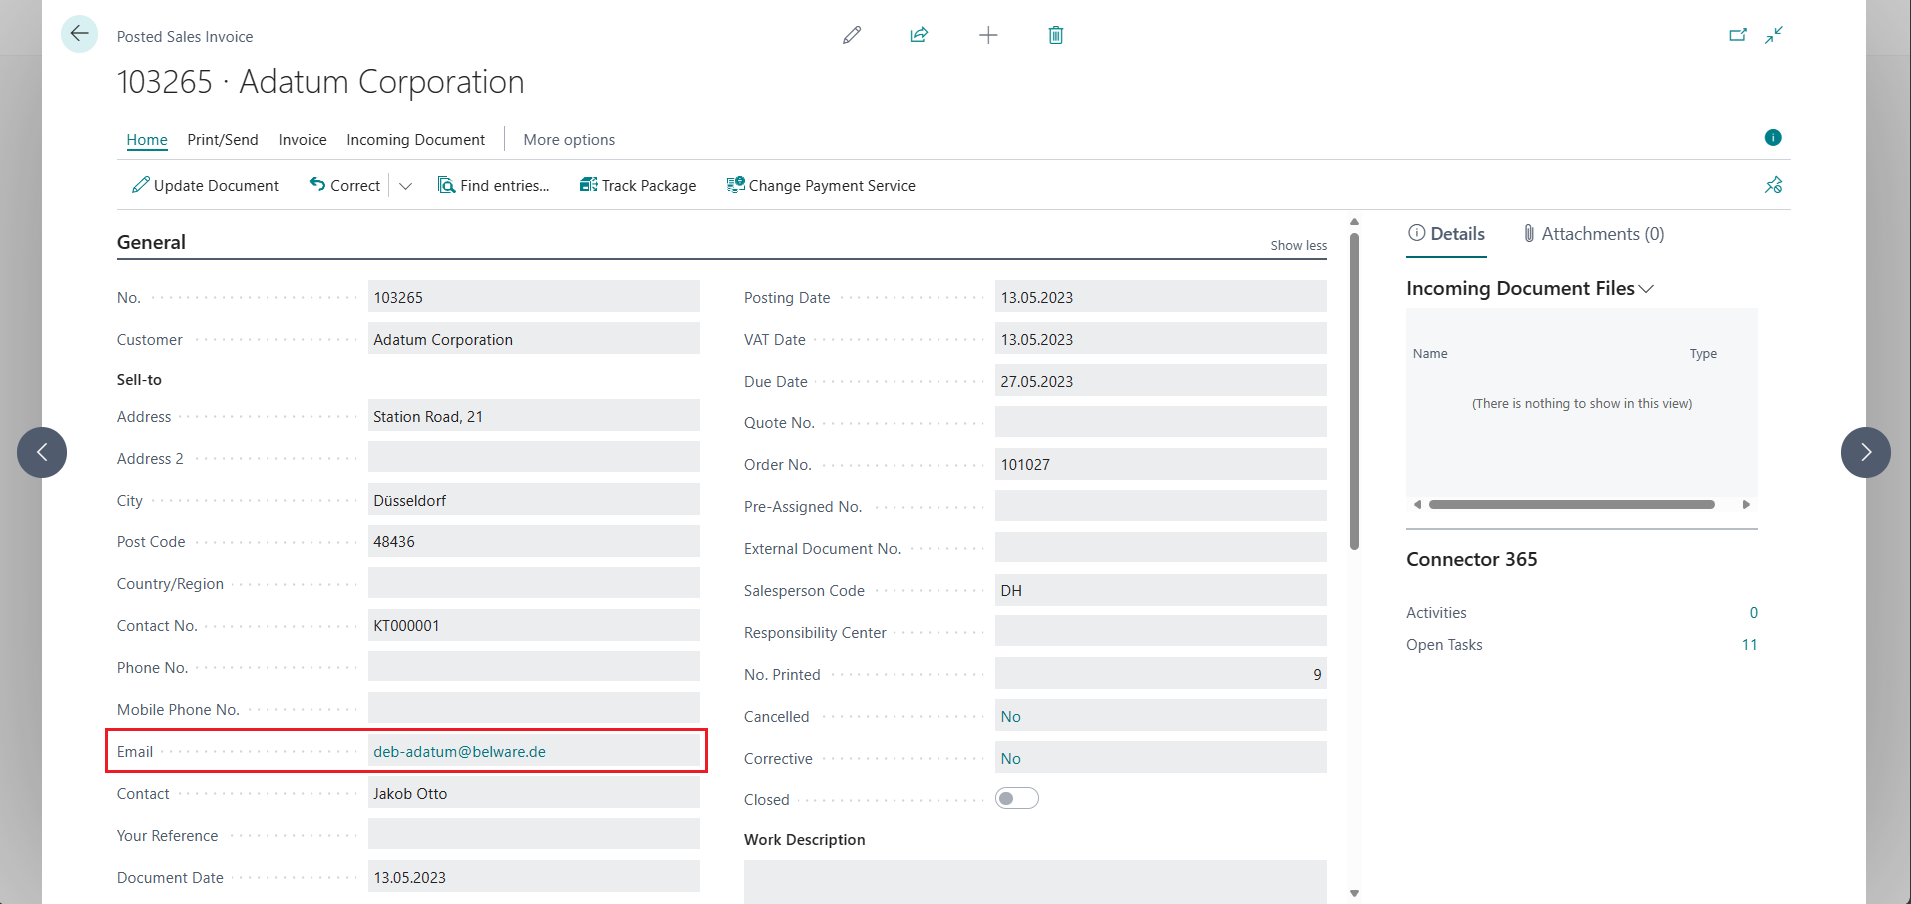 |
| Customer / Vendor | 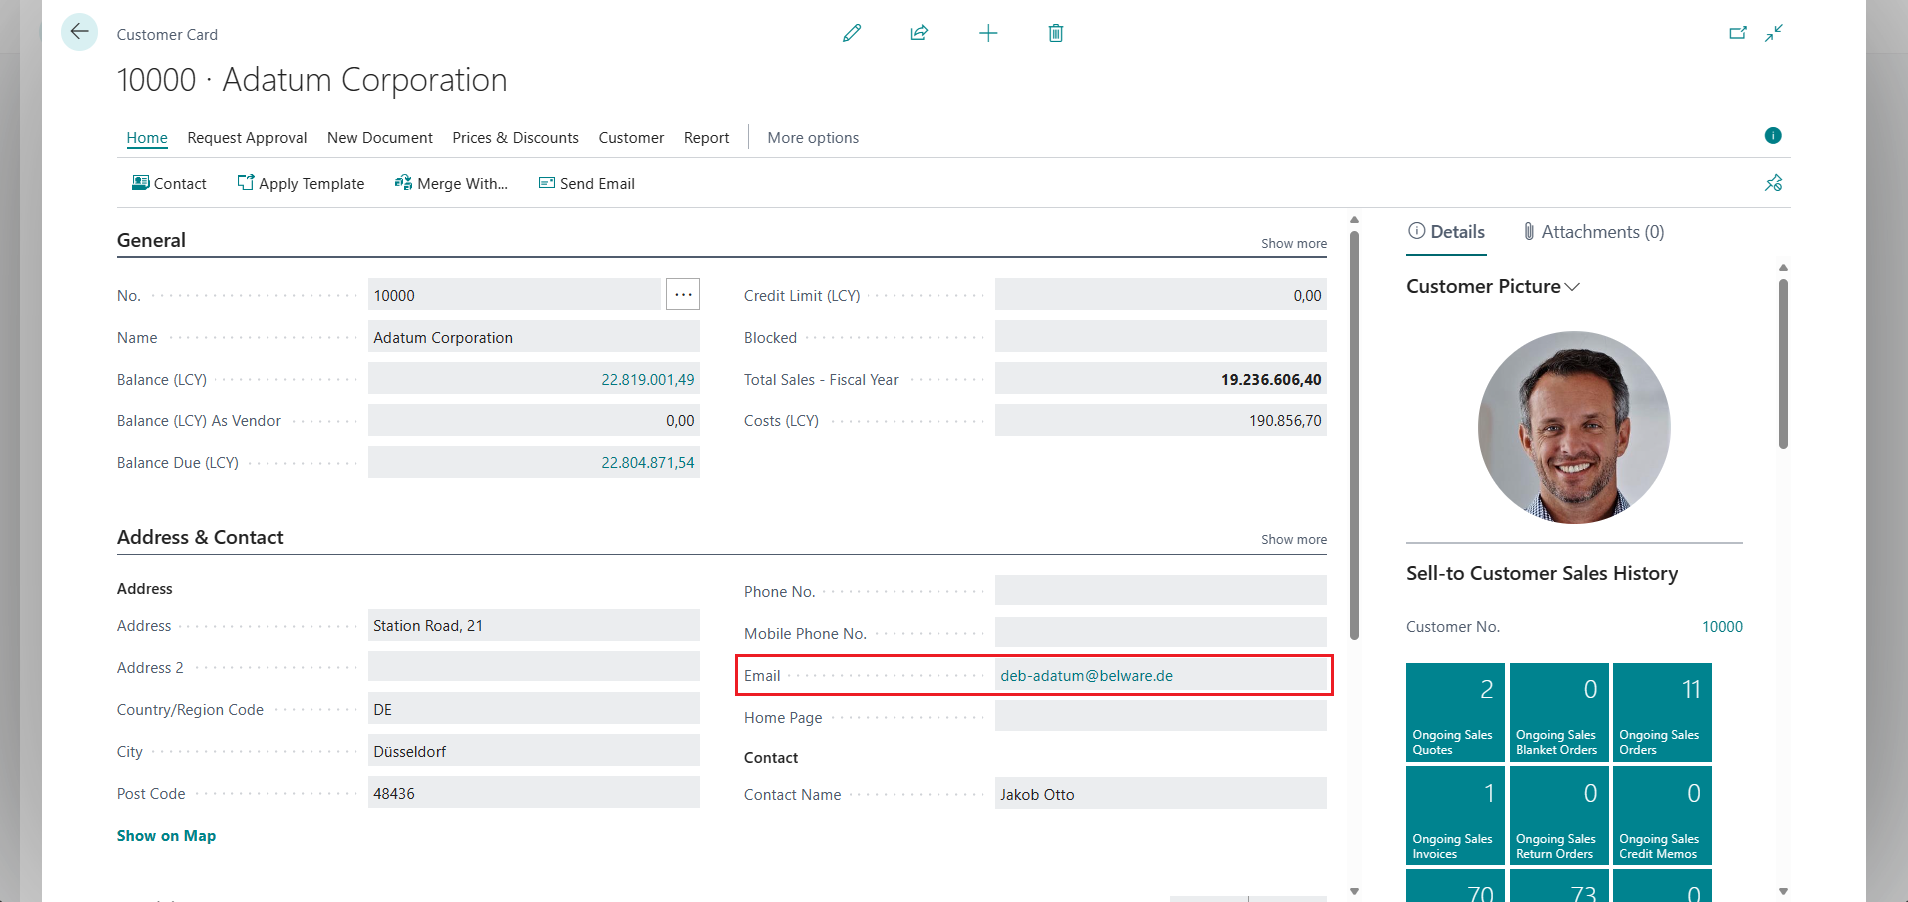 |
In the report selection, you have the option of specifying which field is to be used as the default destination address. Define here which address has the highest priority and, if this destination address is not defined, which other destination addreses should be used depending on the assigned priority.
In addition to the standard tables of the destination address logic, the following tables are also available:
| Table | Example of field |
|---|---|
| Location | If you have entered a different location in the document, the email address entered here can be used in the target address logic if required. The following field could be accessed for the email address: 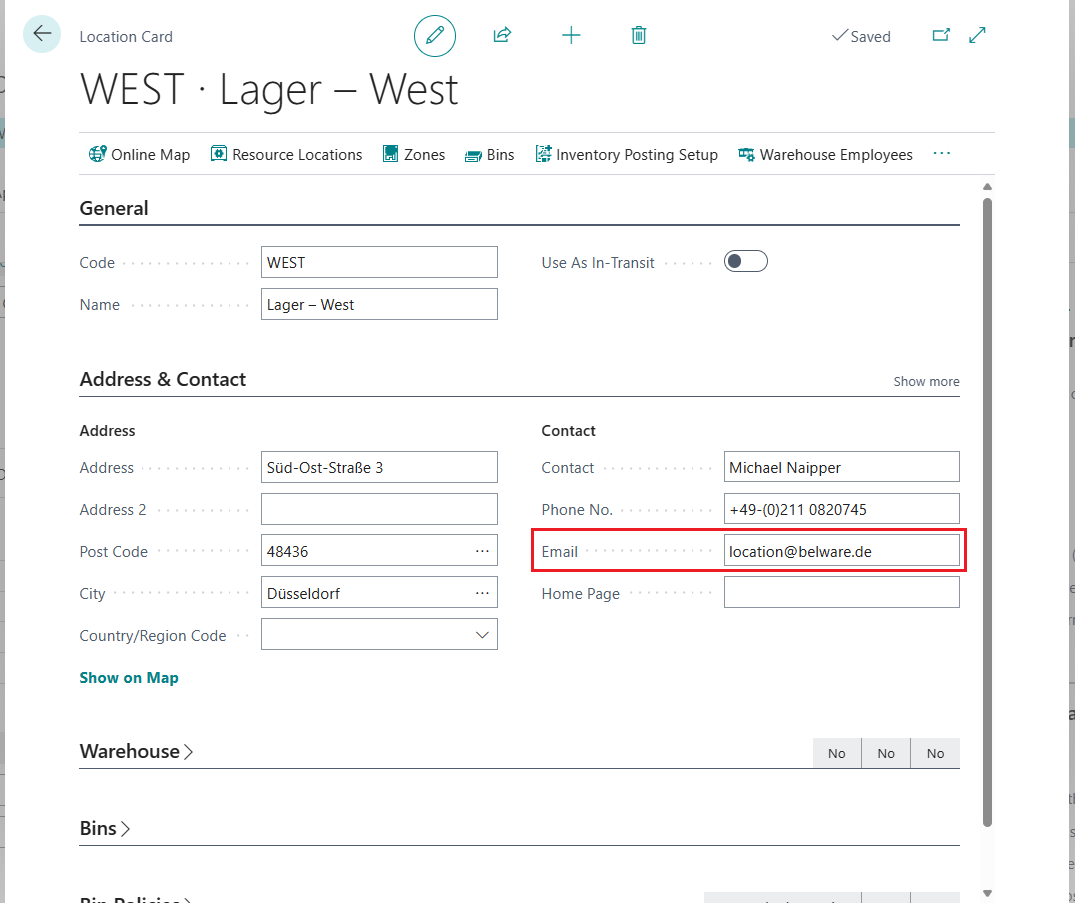 |
| Ship-to Address | If selecting a different ship-to address, define the email address stored here or the corresponding field as the destination address. 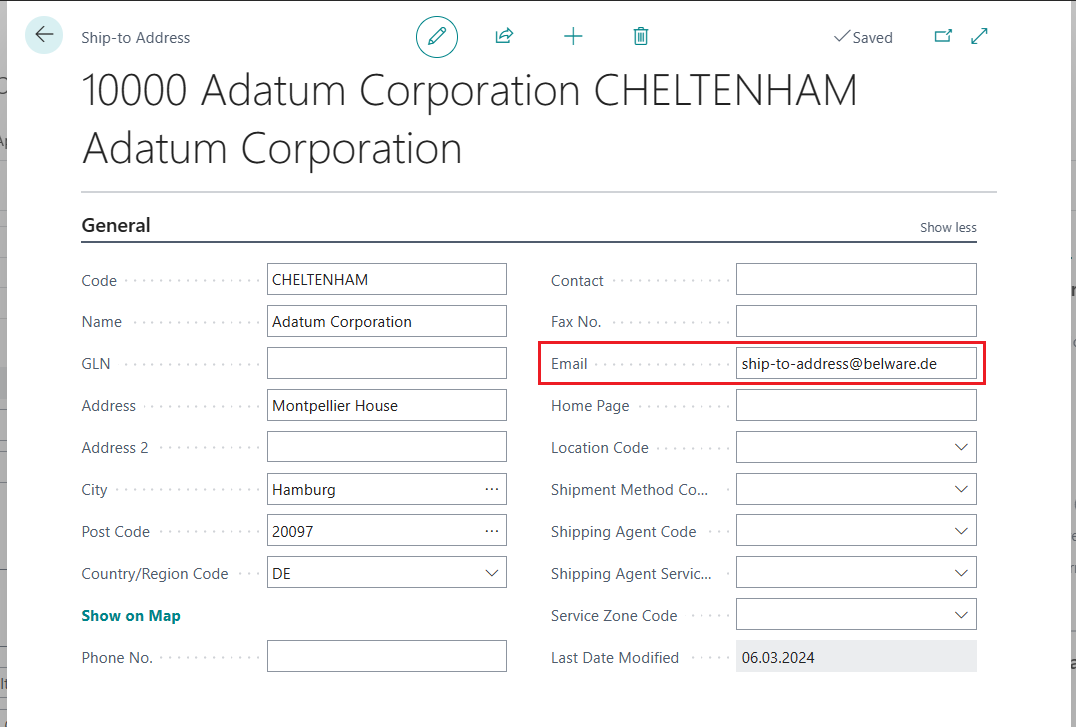 |