Working with Mail Attachment Plus
After you have added the attachments you want in the report selection, you can start sending the mail. If you have not done so yet, you can find the setup of the Customer Default Attachments in the “Getting Started” section.
For this example, we have set up the default attachments in invoice as follows:

For the customer 10000 Adatum Corporation, we have activated here that the standard attachments as well as the document attachments and document line attachments are attached.
In addition to the two attachments shown above, the attachments from the report selection “invoice” as wel as possible document attachments and document line attachments are also added when an invoice is sent.
Mail with standard attachments per customer
To do this, simply open the report for which you previously set up your attachments and then click “Print/Send” and the regular “Send by Email” function.
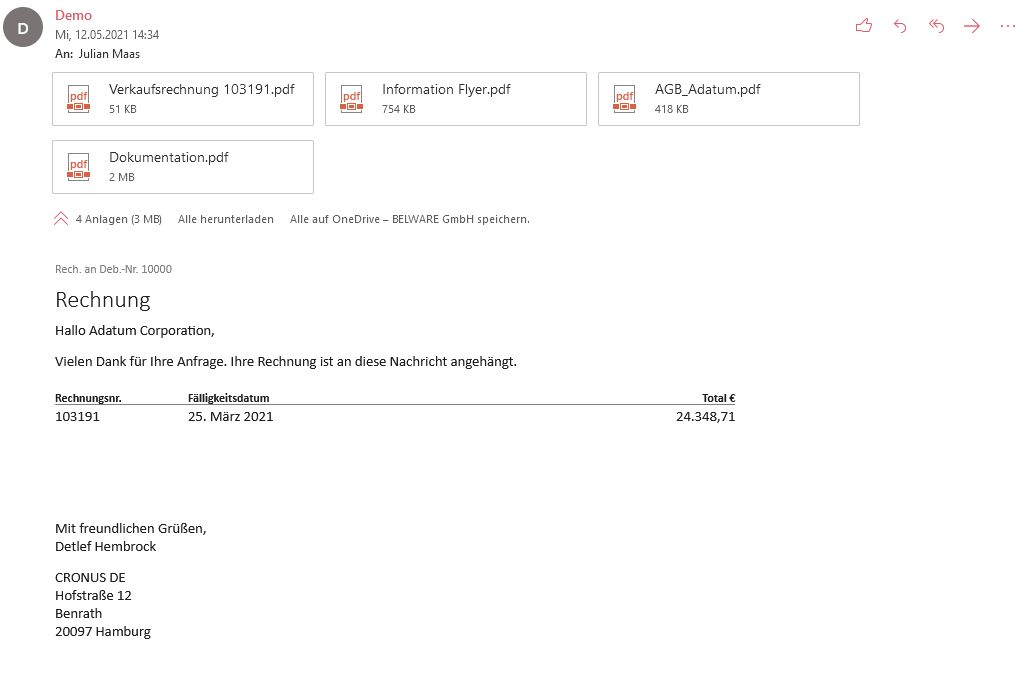
The standard Microsoft Mail Experience will open, if you scroll down to the Attachments section you will find the attachments you previously set up.
Since the box for attachements per report and document were selected in the setup, there are a few other attachments.
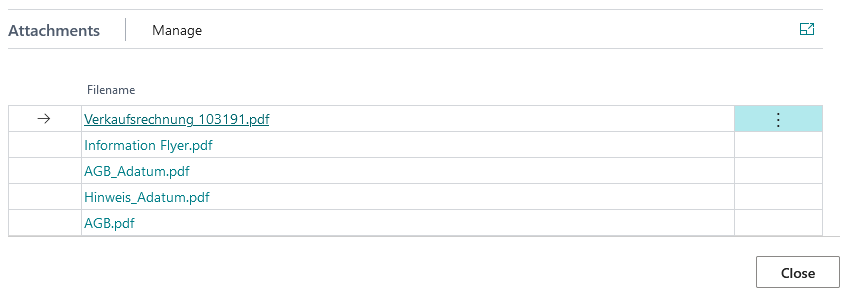
If one of the attachments does not fit, you can simply remove them as usual, via the 3 dots and “Delete”.
Using the Mail Attachments Plus App does not prevent you from using the attachment functionality of the standard. You can still add more attachments via the menu bar under “Attach file”. With a click on “Manage” and then “Attach file” this is also possible.
When you have made all the changes to your attachments, you can send your mail as usual by clicking “Send email”.