Set up your own validator
As already mentioned in the XRechnung section of the documentation, BELWARE’s XRechnung module uses a service to validate invoices and credit notes in XRechnung format.
Here, a configurable XML validation tool is used, which was published for the first time by KoSIT (Koordinierungsstelle für IT).
In combination with the appropriate configuration, the validator is able to
check the syntax, as well as various rules and requirements that are placed on an XRechnung, for its correctness and
keep a record of the status of the check in the form of a check report.
If desired, the BELWARE XRechnung module can access this validation service via a web service operated by BELWARE.
If you do not wish to use our service or are unable to use it due to technical restrictions,
there is the possibility to set up your own validator for validation.
The following explains which steps are necessary to set up your own validator,
and to address it via the BELWARE XRechnung module from Navision/BC.
Download the required components
First, the validator itself and the XRechnung configuration must be downloaded.
Both are provided by the provider on Github.
| Product | Link |
|---|---|
| Validator | https://github.com/itplr-kosit/validator |
| XRechnung configuration | https://github.com/itplr-kosit/validator-configuration-xrechnung |
The installation of the Java Runtime Environment (JRE) is therefore required in order to be able to execute it yourself.
After extracting the validator (here: validationtool-1.5.0-standalone) you get the following files:
|
|---|
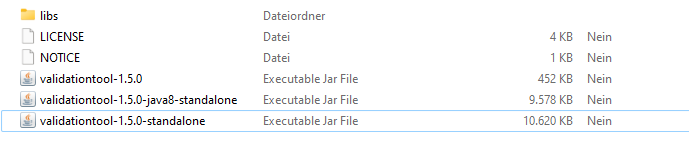
The file: validationtool-1.5.0-standalone.jar is the executable file.
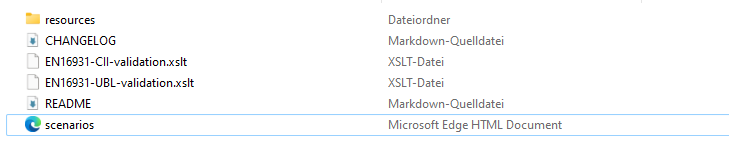
The file contents of the XRechnung configuration (here: validator-configuration-XRechnung_2.3.1_2023-01-31) look like this:
|
|---|
Start the validator as a Daemon
If the required files have been downloaded successfully and a Java Runtime Environment is installed,
the validator can be executed as follows:
Open the Powershell and enter the following command.
|
|
Where the values in the square brackets are to be replaced as follows:
| Value | Explanation | Example |
|---|---|---|
| validator path | The path in which the .JAR file of the validator is present. | validator-1.5.0-distribution |
| version | The version of the Validator | 1.5.0 |
| configuration path | The path to the XRechnung configuration. | validator-configuration-xrechnung_2.3.1_2023-01-31 |
| host | The address at which the HTTP server “listens”. | localhost / 127.0.0.1 |
| port | The port via which the HTTP server is addressed | 12345 |
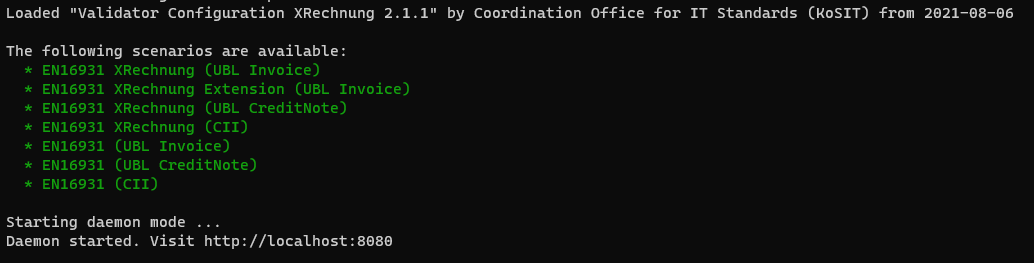
The flag -D indicates that the service is started in Daemon-mode, i.e. as a service that can be addressed via HTTP.
Upon successful execution, a message should appear stating that the programme was started in Daemon-mode.
If the programme is started successfully, it is recommended to set up the functionality as a Windows service.
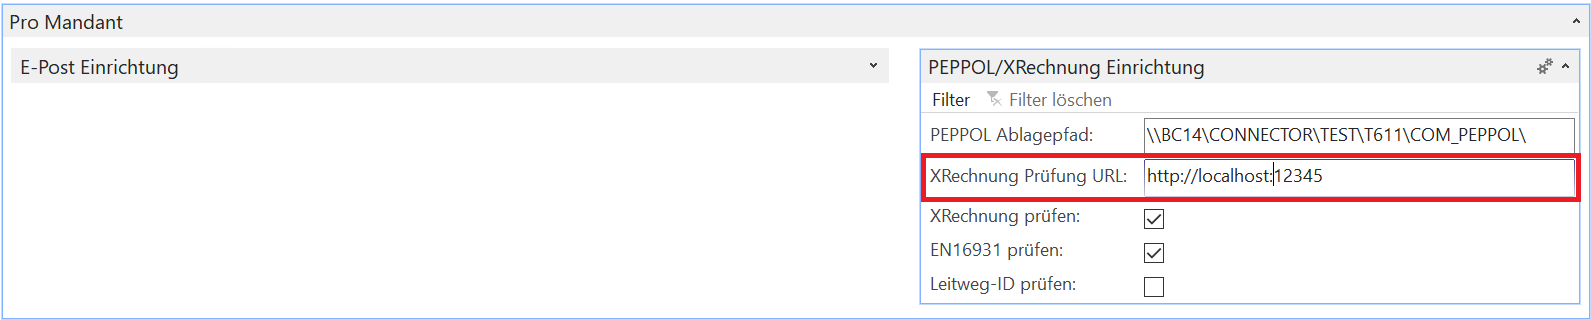
Setting up the service in the Connector NAV/BC facility
Now navigate to Connector NAV/BC Setup.
Under the settings Pro Mandant, navigate to the PEPPOL/XRechnung Setup.
Enter the url including the port used in the XRechnung Prüfung URL field:
|
|---|