The pdfPaper Server module
The installation of the iPaper.NET server

Connector NAV is tested with the latest iPaper FM version. We recommend regularly following the blog at http://www.pdfblog.at/category/ipaper/.
The configuration
In order for the Connector NAV and iPaper FM to communicate properly with each other, certain settings must match in the Connector NAV pdfPaper setup as well as in the iPaper FM configuration.
The Connector NAV pdfPaper setup
Actions
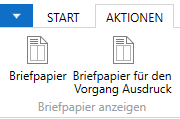
| Actions | |
|---|---|
| Show stationery | This action allows you to display the stored stationery. |
Register pdfPaper Server
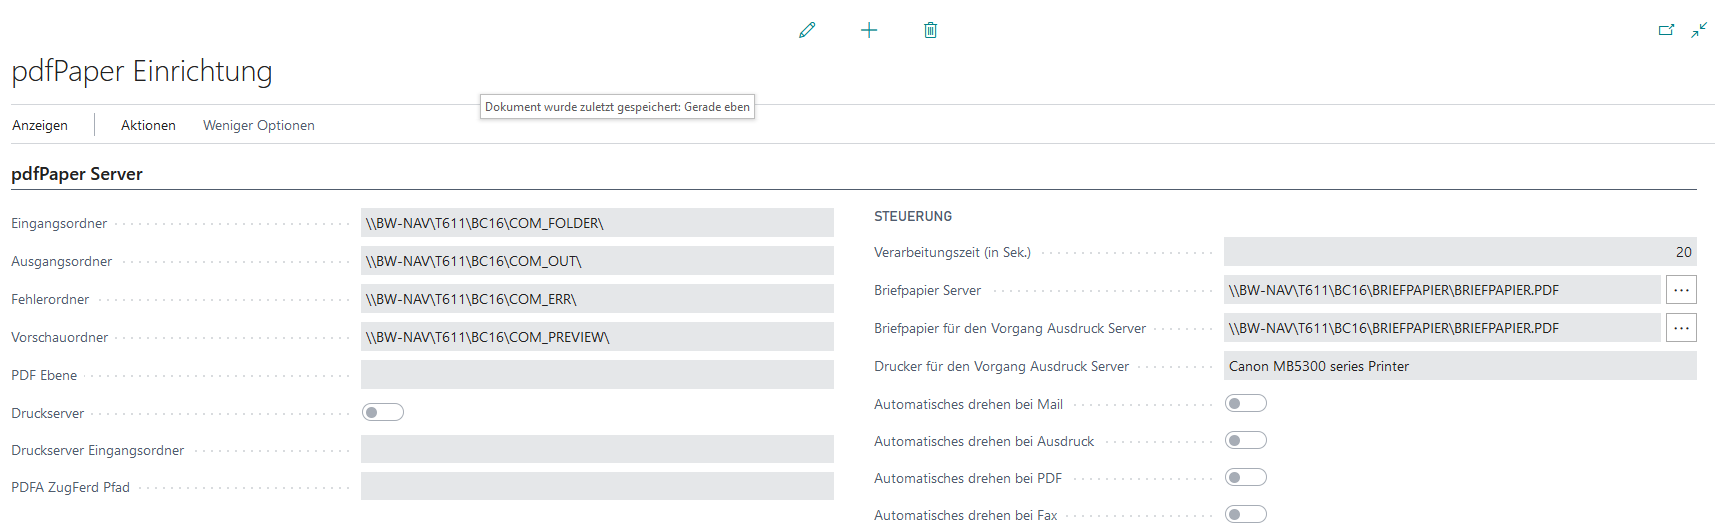
Input folder:
The Connector 365 BC creates an external XML control file for iPaper FM during an operation. This is expected by iPaper FM in the input folder.
Output folder:
Successfully processed PDF documents are copied by iPaper FM to an output folder. This should be the “com_out” folder from the Connector NAV setup.
Error folder:
If PDF documents were not processed by iPaper FM, an XML file with error information is placed in the error folder.
Preview folder:
This folder is used to create temporary PDF documents for the pdfPaper Preview action.
PDF Level
Here you can specify the level of PDF/A encryption, the choices are PDF/A-1b, PDF/A-3b and no encryption.
Print Server
With this switch you determine whether a print server is in use.
Print server input order
If a print server is used by you, you can specify here where documents to be printed should be stored.
PDFA ZUGFeRD path
Defines the path where XML files created according to the ZUGFeRD standard are stored or archived.
Processing time (in sec.):
Here you enter the time that the Connector NAV should wait until the PDF document appears in the output folder. If the document is not found after this time, the process has failed. The time depends on how big / how many pages / how complex the reports are. As an average value we recommend 30 seconds.
Writing paper:
Select here the general stationery to be included with each operation. Also create a folder here in your shared network (here PRESETS) where you store all business stationery or other PDF files for mixing.
Writing paper for the process printout:
Select here the generally valid stationery, which is to be mixed to each printing process.
Printer for the Printout process:
Enter here the printer that is to print the document during the printing process.
Automatic rotation
In case documents are extended by e.g. attachments with pages in landscape format, you can define here that they are rotated to portrait format during processing.
Activating the iPaper licence
After installing the iPaper, it initially runs under a 30-day trial version, which allows full use of the iPaper until it expires. After the 30 days have expired, the iPaper can still be used, but from that point onwards a stamp is placed on the PDF documents created. This is usually not a problem on test systems, but iPaper should be fully activated at the latest when it is transferred to the live system.
To activate your licence you need the Product Activation Manager (PAM). You can either open this directly via the Windows search function or right-click on the iPaper icon in your toolbar and then click on Info and then Activate.
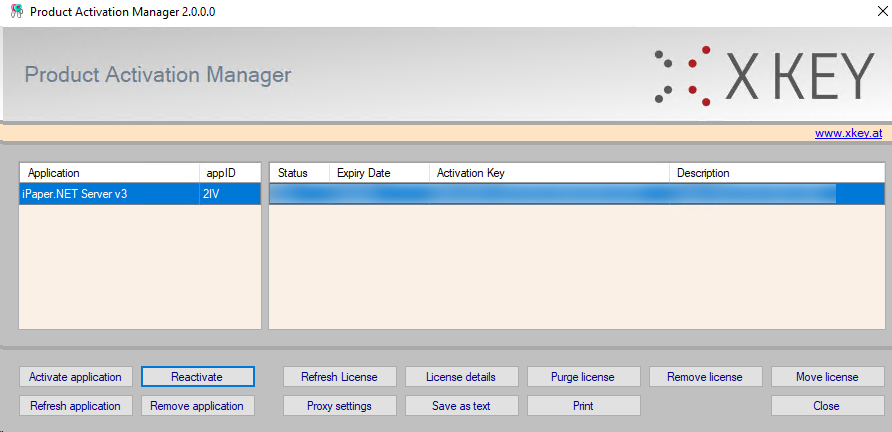
In the PAM you will now see a listing of the installed iPaper version and a related demo license. To fully activate the license, click on “Activate application”. A new dialog opens where you can enter your license data under “Activate online”. You have received these from us during delivery.
After confirming the dialog another window opens, here you can see all licenses that belong to your account, select a suitable license and confirm the dialog. You should now find another license in the list next to your demo license. An optional step is to select the demo license and remove it with “Remove license”.
If you need support in this process please contact us, we will be happy to help you.
Move licenses
iPaper licenses are always bound to one computer, but since it happens that computers are exchanged, you have here the license to “move”.
Open the PAM again and select the license you want to move to another computer and click on “Move license”, this moves the license back into the pool of your other licenses and can thus be activated again as a normal license.
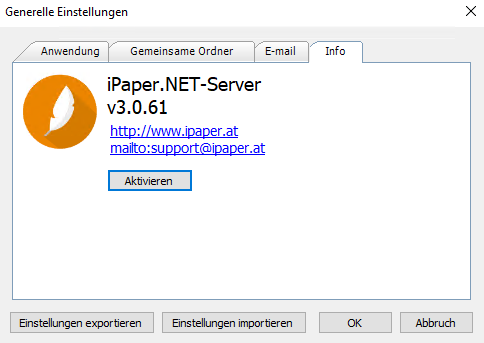
The iPaper.NET server configuration
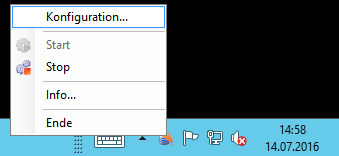
In the desktop bar, if iPaper FM is started, you will find a feather with which you can access the configurations via “right-mouse-click”.
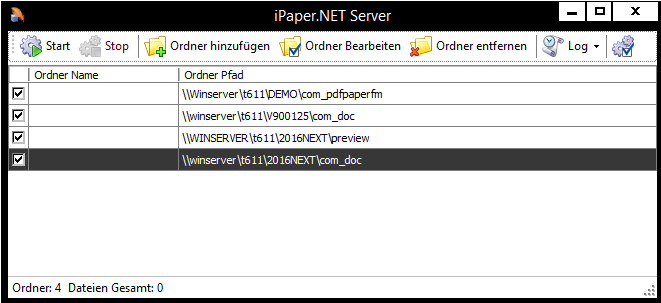
Then you will see an overview of the folders that have been set up. Before setting up a folder, you need to define the template folder (Stationery Tray). To execute it, please execute the action shown at the bottom right of the image (General settings).
Shared folder tab
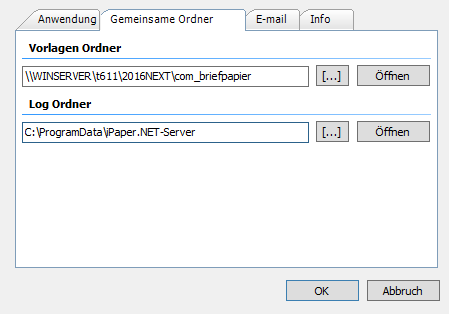
Select the stationery folder you created for the Connector NAV pdfPaper setup. When shuffling documents, the iPaper.NET server will access this folder. All stationery templates must be stored here.
Then a new folder is created via the action Add folder.
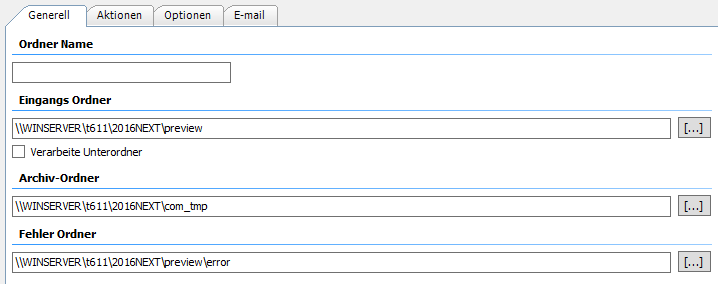
Register general
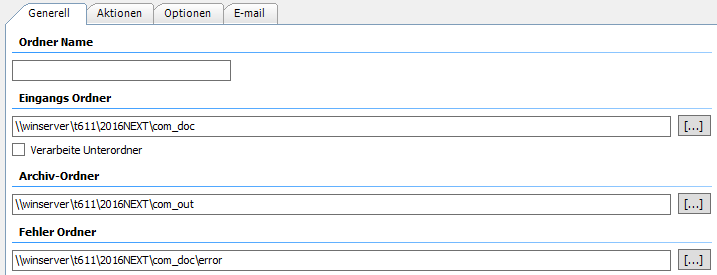
Transfer the pdfPaper setup from the previous chapter into the corresponding fields.
Register options
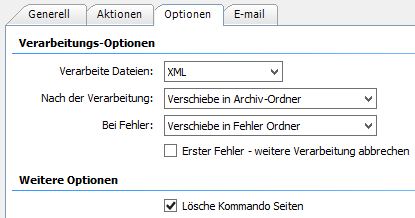
Transfer the settings on the image. The files to be processed are XML files. These are automatically generated by Connector NAV. The document must then be moved to the archive folder, where you will be used for further processing by e-mail/fax.
Preview folder
After the main setup is done, create a new folder. The following settings must be made for the preview folder:
Then enter the same settings under the Options tab as in the picture above.
Close the configuration and start the iPaper.NET server.
