Setup Connector NAV for the segments dispatch
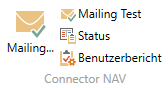
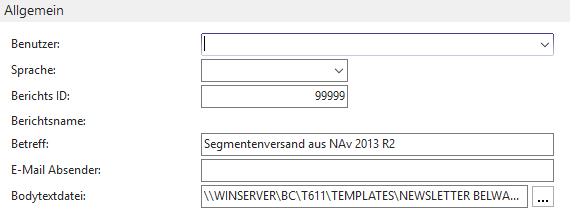
Now that the list of contacts that will receive the segment has been prepared, it’s time to set up the mail with Connector NAV. Via “User report” you now set up the following parameters:
ReportID: Is fixed – this one can not be changed.
Language: Should you have multilingual customers and want to send your mails in different languages accordingly. Is to define the user report setup per language code.
Subject: Here is the subject line of the mail to be set.
E-mail sender: Here the own sender identification can be overwritten via SMTP.
Body text file: Here is the mail / body text or also called disclaimer to define.
(For the creation in Word see seperate documentation.)
Additional settings in the “Control” register are to be made depending on the operation:
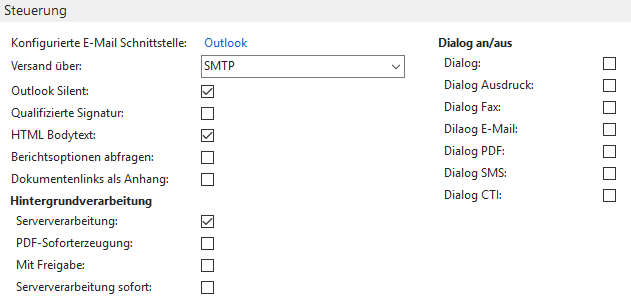
E-mail interface: Here the correct interface should be set.
„HTML body text“: Here it is important, the check mark is set so the mail is sent in the correct formatting.
| Dialog on/off: | Dialog off – Then the mail dispatch will be executed silently. Dialog on – Here a dialog opens again before the dispatch, in which for all attitudes and presettings again to be intervened and changed can. |
Attachments can also be added to your segment. Therefore click on “e-mail attatchment” under adding in you menu ribbion.
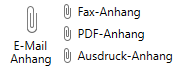
Select the intended file an confirm you selection. The just added file can now be viewed in the “Attachment lines” tab.
Check settings and send segment
To see if you have really set everything correctly, you can send the segment to yourself once. The “Mail Test” function only generates a single mail, with the corresponding default settings and contents of the segment, to the assigned seller that is stored in the VK code in the segment. The mail address is taken from the stored mail address in the sales code.
Once you have checked the mail and found it to be correct, you can start the complete segment mailing using the “Mailing…” function. Make sure that you start the mailing with Dialog off, otherwise you will get a query that has to be confirmed every time.
The emails will now be sent to all contacts in your segment, this may take some time depending on the number of contacts, so please be patient.
After the sending is finished, you can check the status of the mails by clicking on Status in the ribbon. There you will then see each mail in the segment and whether it was sent successfully.
If your activity log items are set up, other employees can then also check there per customer who has received an email.
