Create XRechnung
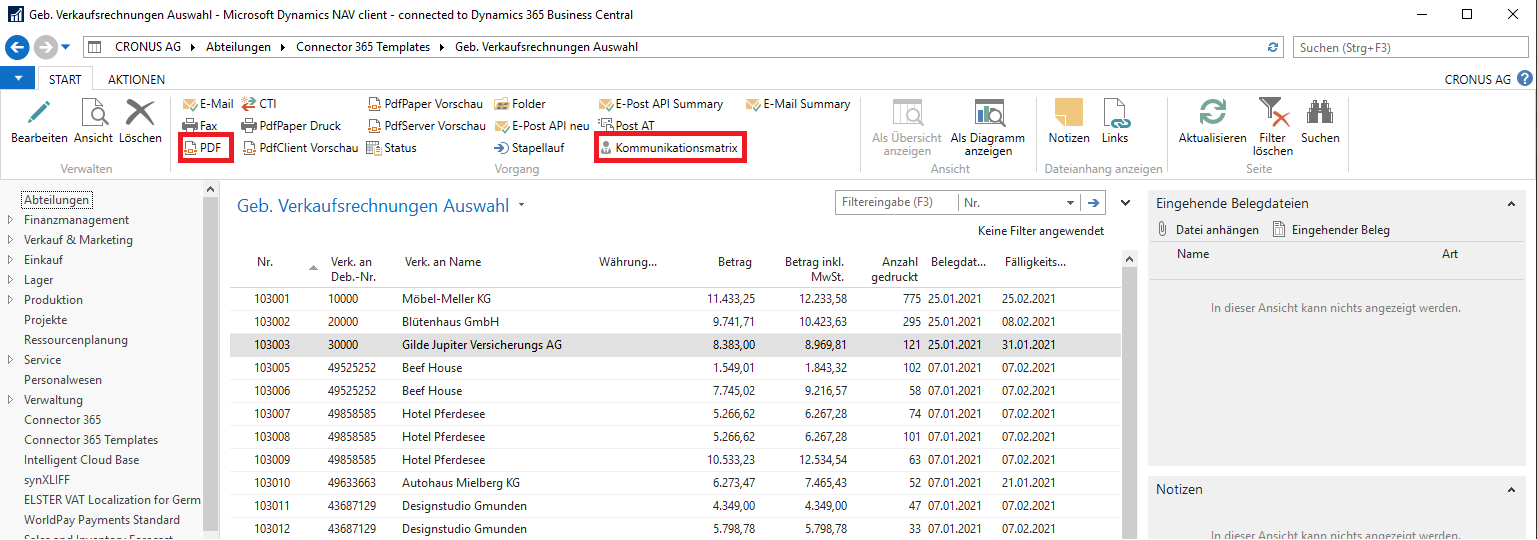
Now that we have created the XRechnung entry for Gilde Jupiter Versicherungs AG for the PDF job mode, we can create an XRechnung from the selected 103003 invoice using the PDF button.
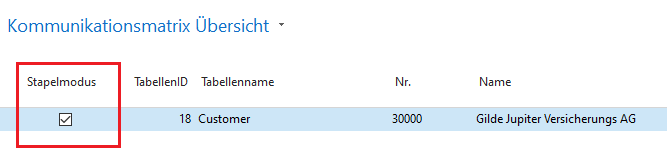
Alternatively, this can also be done using the Batch Run button, provided that the relevant entry in the communication matrix has been marked for batch mode:
As soon as one of the above buttons has been activated, an XRechnung will be generated from the selected invoice.
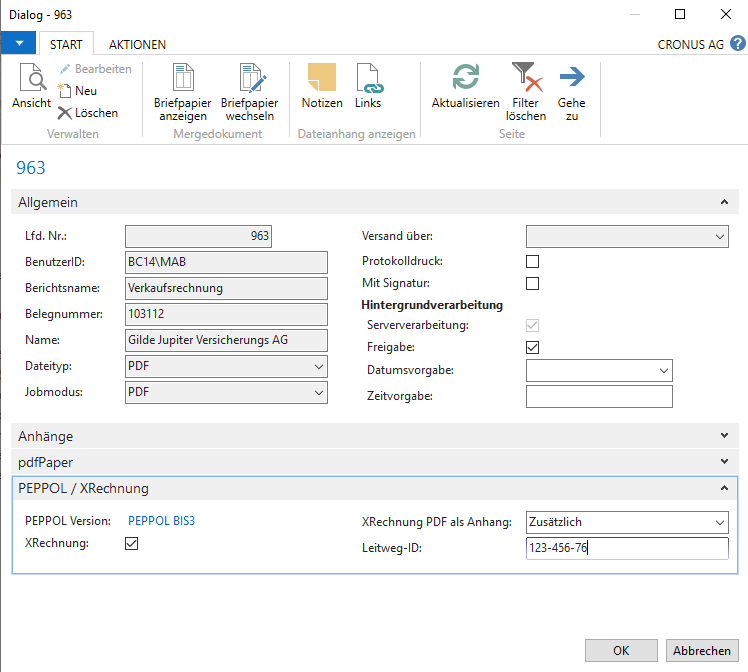
If you have activated the dialog function via the User Report Settings, the dialog window will open before the generation, in which you can view the settings made once again.
The generated file is then sent to a validation tool on an external server, if you have not set up your own server (see Setup), to be tested there for conformity to the formal templates. If you have not checked the
Setup, the checkbox for Check XRechnung will be unchecked and the validation process will not take place.
The status of the validation can be found in the corresponding entry in the job list.
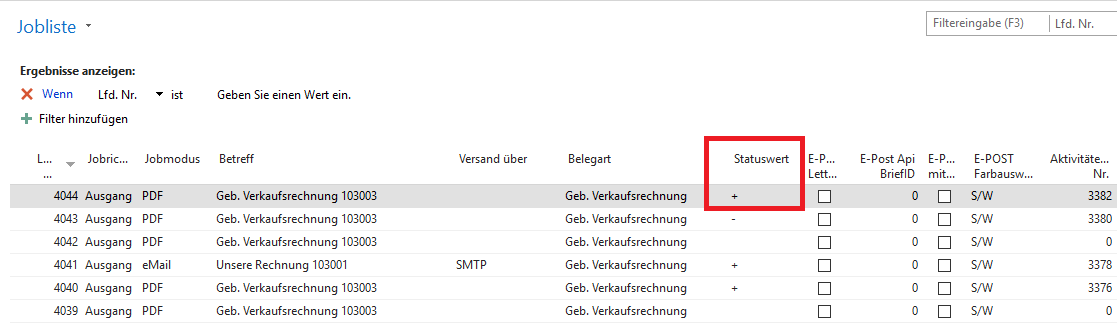
The ‘+’ indicates that the generated XRechnung has been successfully validated.
To view the generated files, press the View Files. button.

Now a view of the files associated with the job opens.
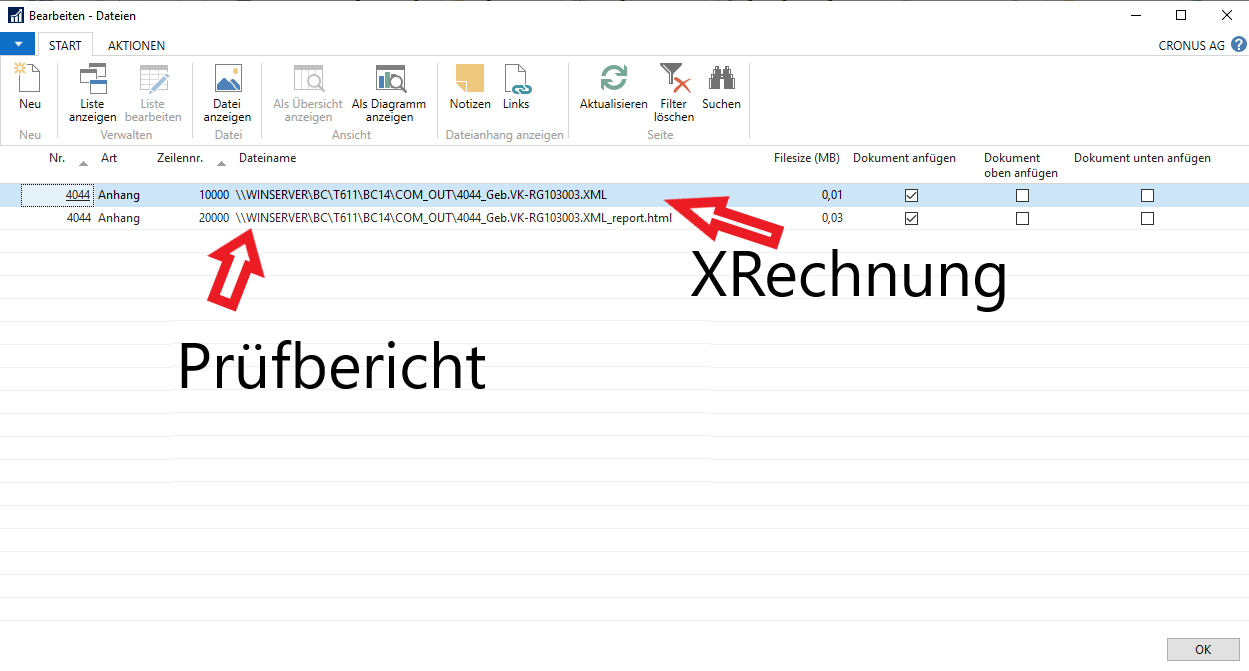
As you can see from the file name, the created files are stored in the folder COM_OUT.
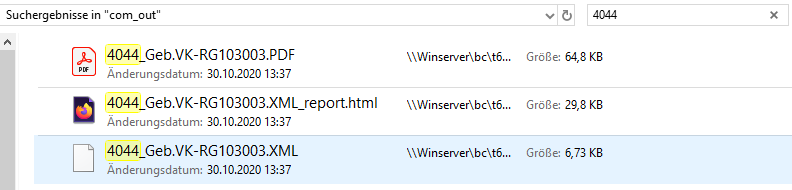
In this folder, in addition to the XRechnung and the PDF file, a test report is also stored. If the PEPPOL storage folder has been set up, the XRechnung-related files are placed in the stored storage folder. These files are prefixed with the job number. In our example this was the job number 4044.
Note: The file name for each report can be set up in the user report settings.
The file 4044_Geb.VK-RG103003.PDF corresponds to the invoice in PDF format.
The file 4044_Geb.VK-RG103003.XML is the generated XRechnung file.
The file 4044_Geb.VK-RG103003.XML_report.html is the corresponding test report, recognizable by the extension "_report.html “.
Open the file 4044_Geb.VK-RG103003.XML_report.html to view the validation result of the XRechnung.
You can do this either from the COM_OUT folder, or from the Navision / Business Central 365 - file view as shown in the following image, by clicking the View file button.
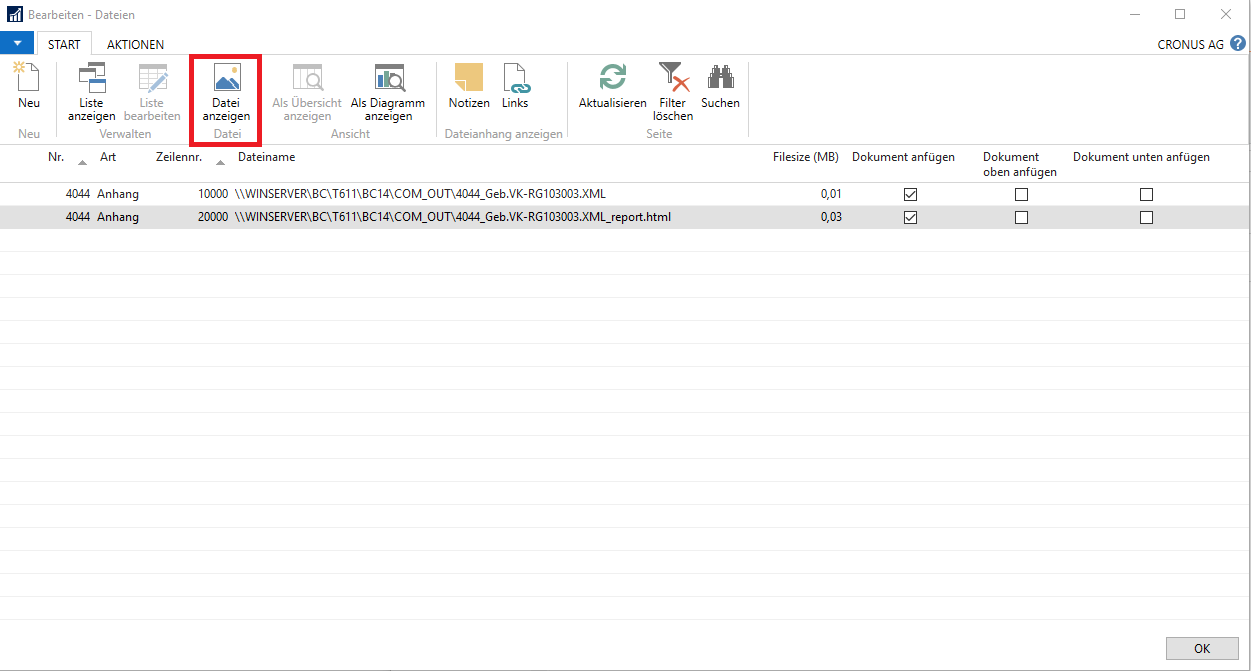
In this example the test report opens in the Firefox browser.
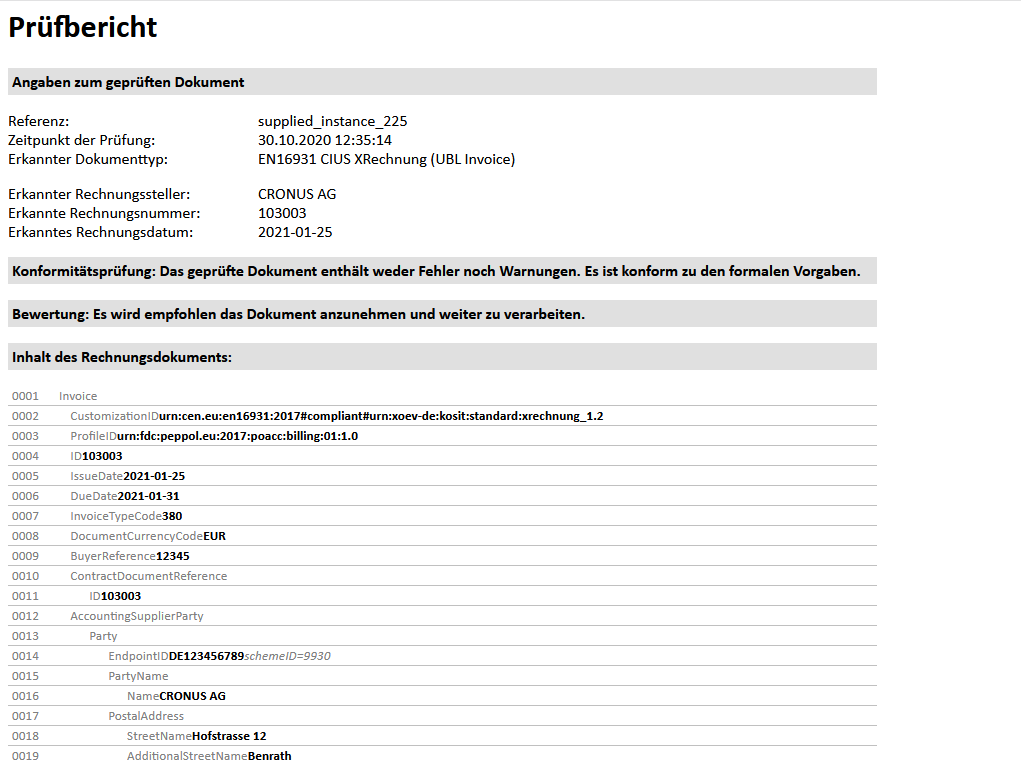
From this excerpt of the test report, it is clear that the file conforms to the formal requirements.
