Accompanying documents
The XRechnung standard allows attachments to accompany invoices.
This standard allows attachments of the following MIME (Multipurpose Internet Mail Extensions) types:
-
Application/pdf (.pdf)
-
Image/png (.png)
-
Image/jpeg (.jpg)
-
Text/CSV (.csv)
-
Application/vnd.openxmlformats-officedocument.spreadsheethtml.sheet (.xslx)
-
Excel tables
-
Application/vnd.oasis.opendocument.spreadsheet (.ods)
-
OpenDocument tables
“The requirements of the invoice recipient must be taken into account by the invoice sender, for example, that security-relevant authorities may only be able to receive attachments in PDF/A format. Whether and which restrictions apply to an invoice recipient must be requested from the respective invoice recipient.”
The Connector NAVs XRechnung module allows you to easily include supported document types in the resulting XRechnung. You can either attach these attachments to an invoice, or add them in the Send/Create dialog. Depending on the chosen method, setups in the User Reports are necessary.
Method 1 - Deposit attachments in invoices.
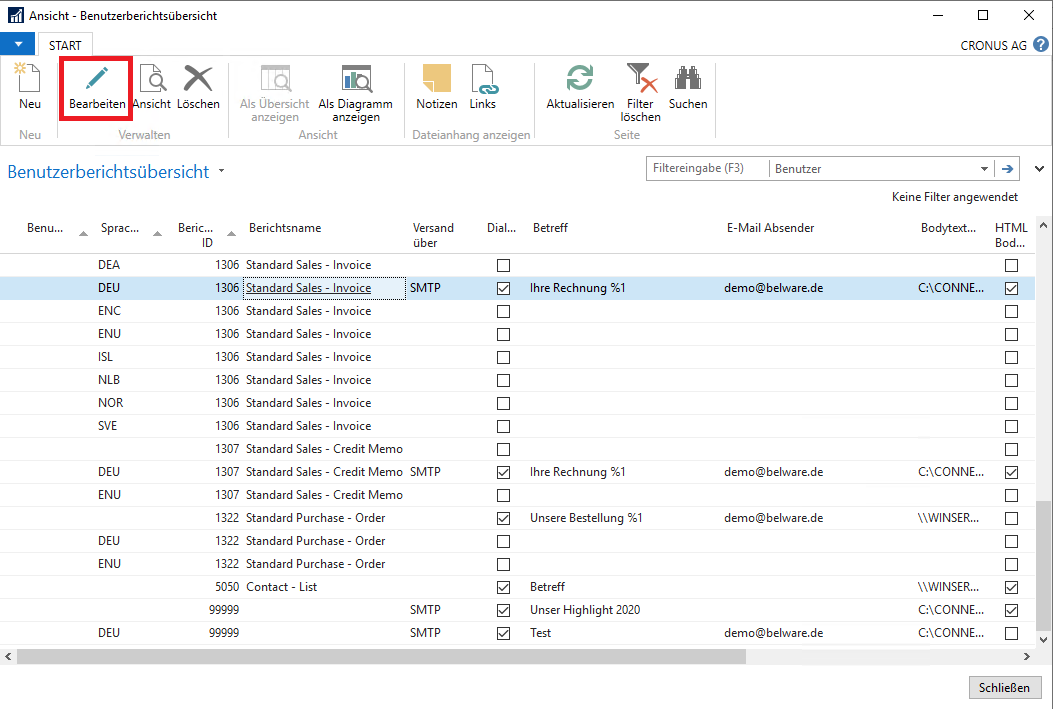
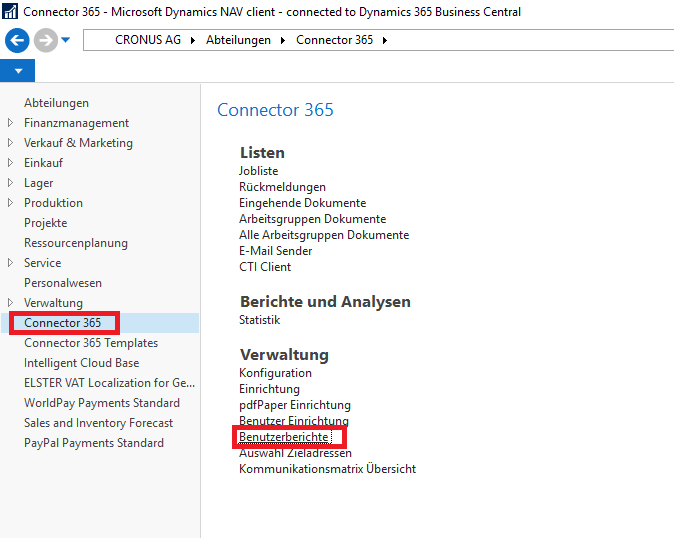
Navigate to: Connector 365 -> User Reports.

Select the report for your sales invoices (Here: Standard Sales - Invoice, 1306) with the associated language code and user ID, if any, and select edit.
In the Controls tab, check Document links as attachments.
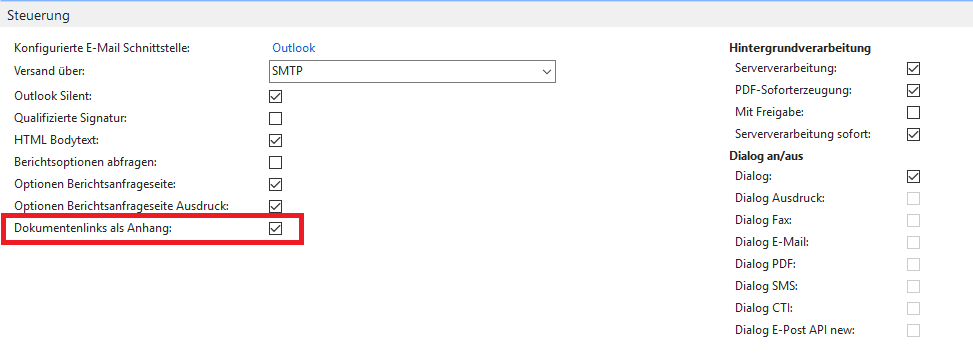
This checkmark must be set in order for the Connector to consider attached documents during XRechnung generation.
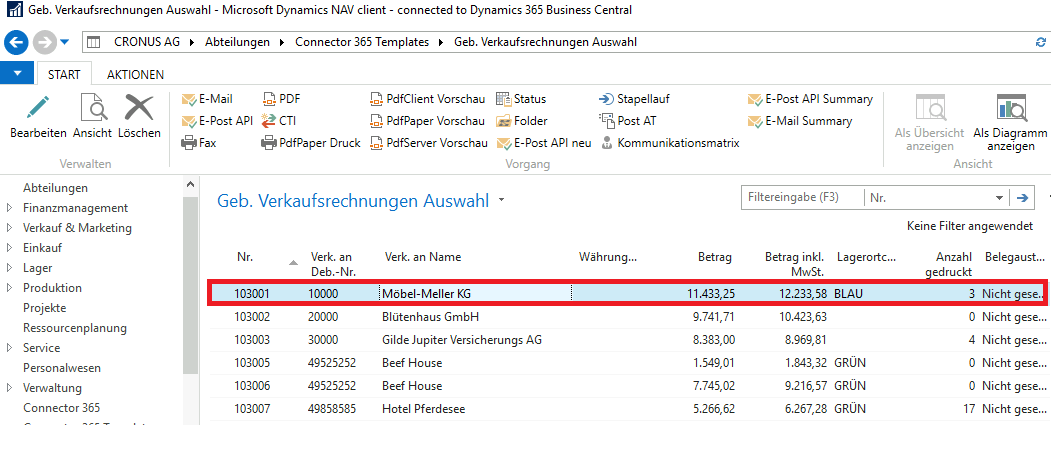
Now navigate to the Sales Invoice Selection page from the Connector 365 Templates, select an invoice for which you want to store an attachment, and click Edit. The invoice will open. Now click Links. This button can be found in the top menu under the Start tab.

Another window will open:
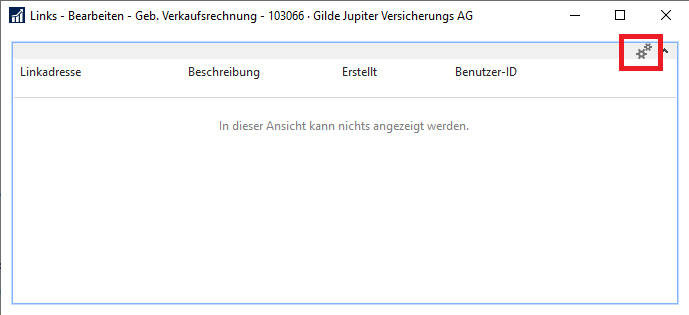
Click here on the gear icon:
Now you will find two more fields, Link Address and Description. Click the box with the three dots, which can be found to the right of the link address field.
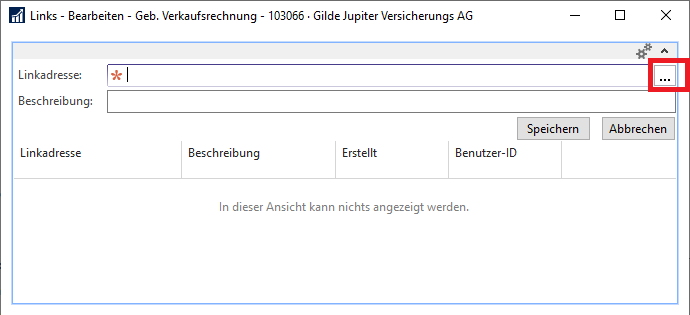
Explorer should open, from which you can select and open any file. After you have done this, press Save.
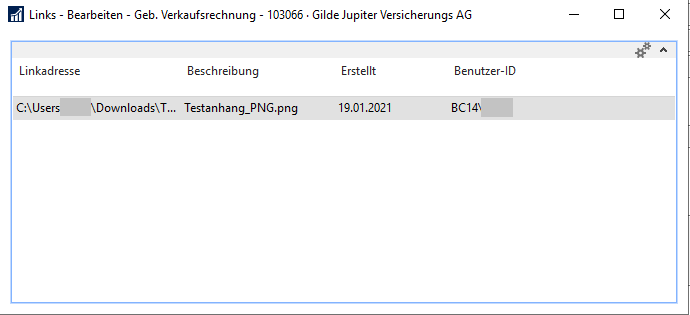
The window will display the uploaded file. Now you can close the window and return to the Sales Invoice Selection overview.
To do this, check as usual that you have made the settings in the communication matrix for the customer in question.
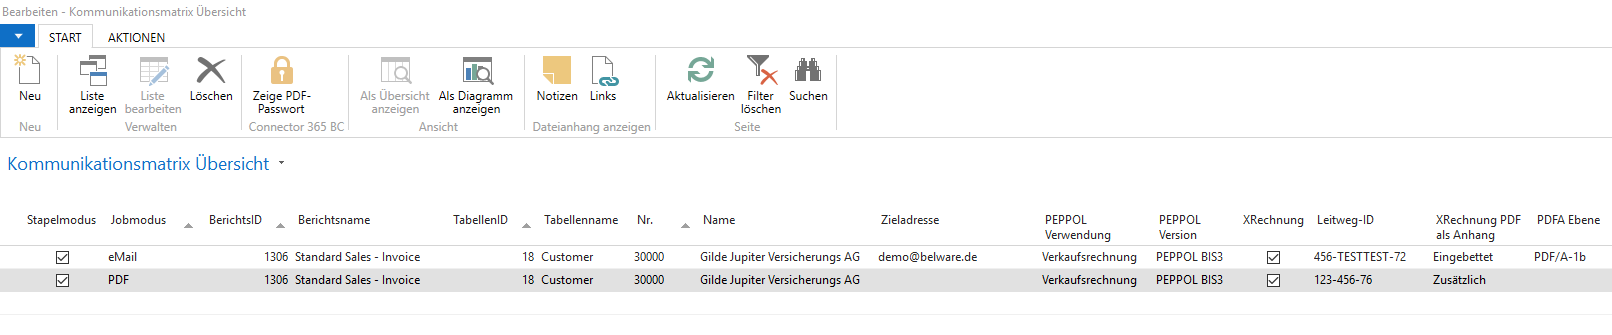
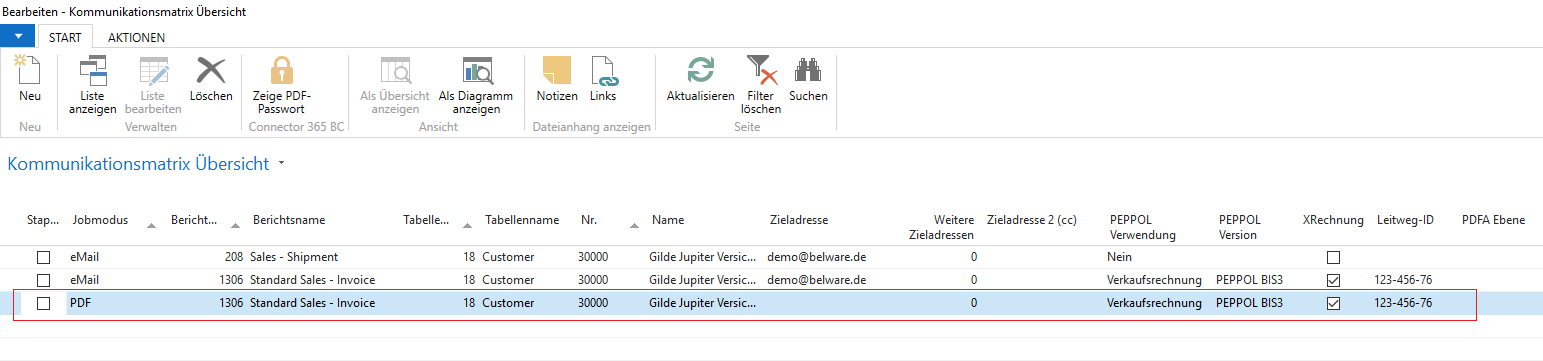
For the PDF job mode and the report in question (here 1306 for Geb. Sales Invoices), enter the following:
Place a check mark in the XRechnung field and enter a routing ID. In addition, select the PEPPOL Usage (For this example Sales Invoice) and enter PEPPOL BIS3 for PEPPOL Version. You can select the latter two entries from the associated drop-down menu. If intended, you can select under XRechnung PDF as attachment whether the invoice PDF file should also be embedded.
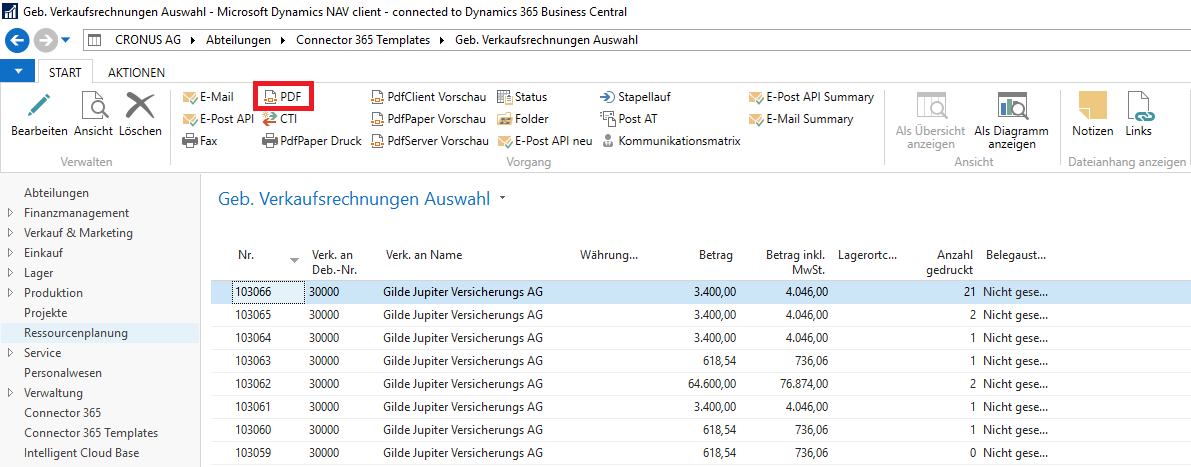
Next, navigate back to the Sales Invoice Selection page from the Connector 365 Templates and select an invoice that you want to convert to an XRechnung.
Then select the invoice you are working on and press the PDF button.
If you have enabled Display dialog option for sales invoices, the dialog box will open (method 2).
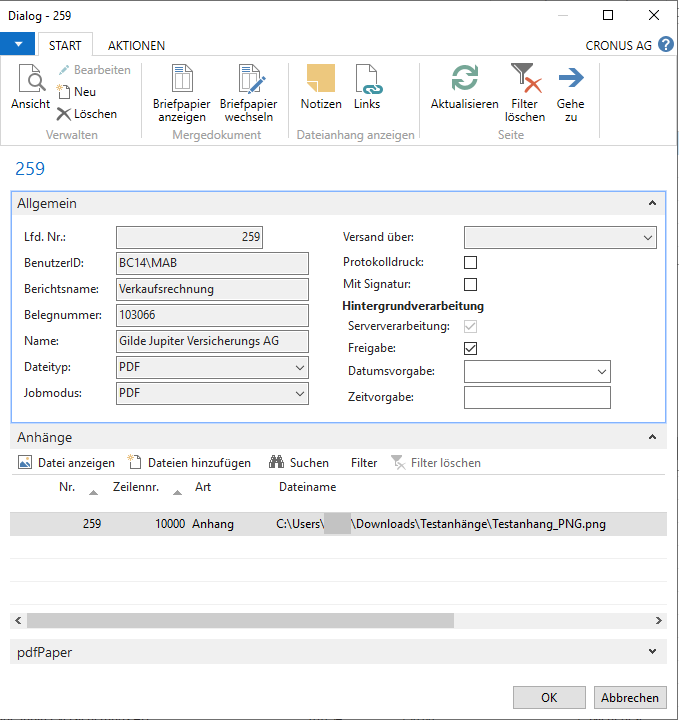
Under the Attachments tab you should now see your uploaded file. Optionally, you can add more attachments (method 2). Now press OK, to convert the invoice including attachments into an XRechnung.
Method 2 - Add attachments via dialog.
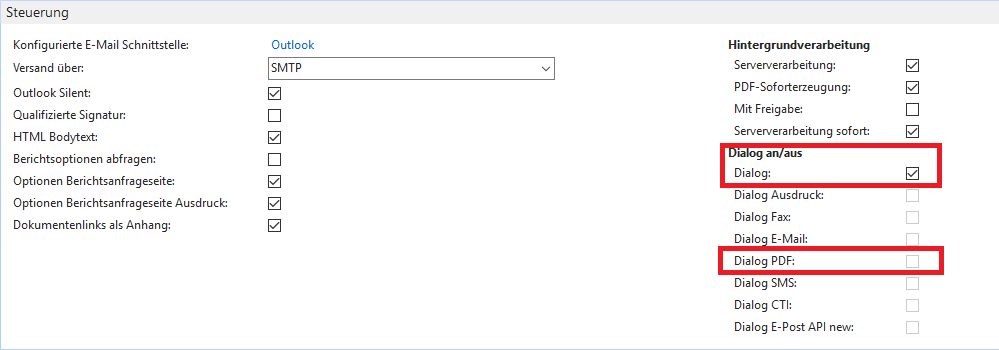
First, navigate to the user setup of the Connector NAV 365.
Under the Controls tab, check Dialog or Dialog PDF. (If Dialog is selected, a dialog will ALWAYS appear, for example, also when printing or sending an e-mail.)
Now navigate to the Sales Invoice Selection page from the Connector 365 Templates, and select an invoice
To do this, check as usual that you have made the settings in the communication matrix for the customer concerned.
For the PDF job mode and the report in question (here 1306 for Geb. Sales Invoices), enter the following:
Place a check mark in the XRechnung field and enter a routing ID. In addition, select the PEPPOL Usage (For this example Sales Invoice) and enter PEPPOL BIS3 for PEPPOL Version. You can select the latter two entries from the associated drop-down menu.
Next, navigate back to the Sales Invoice Selection page from the Connector 365 Templates and select an invoice that you want to convert to an XRechnung.
Click on the PDF button.
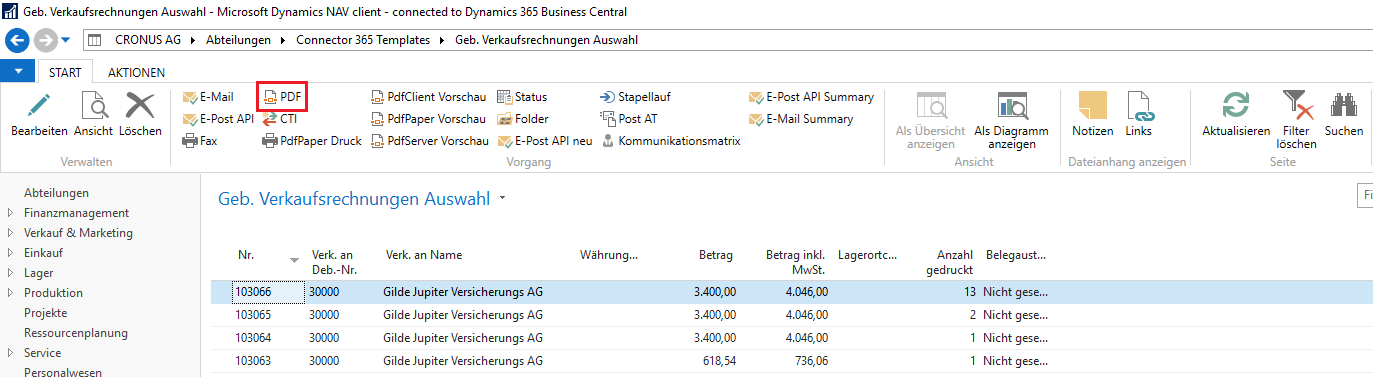
After clicking the PDF button, the following dialog box opens:
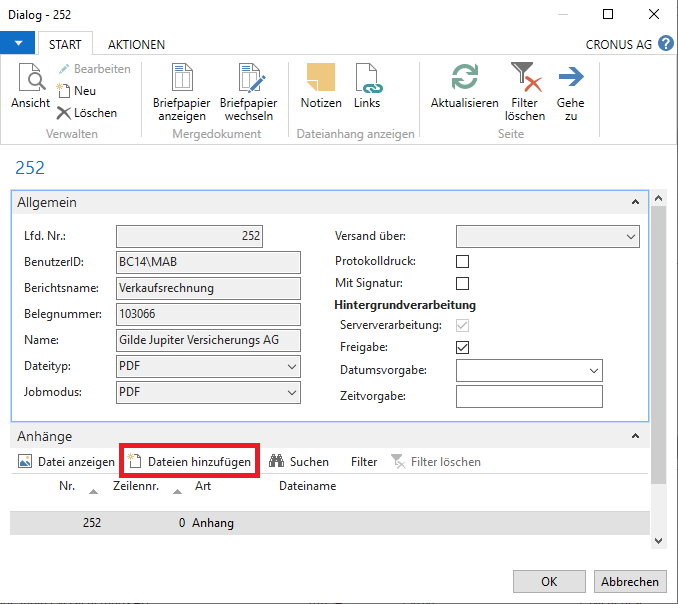
Now press the Add Files button in the Attachments tab. This will open another window where you can select a file to add as an attachment.
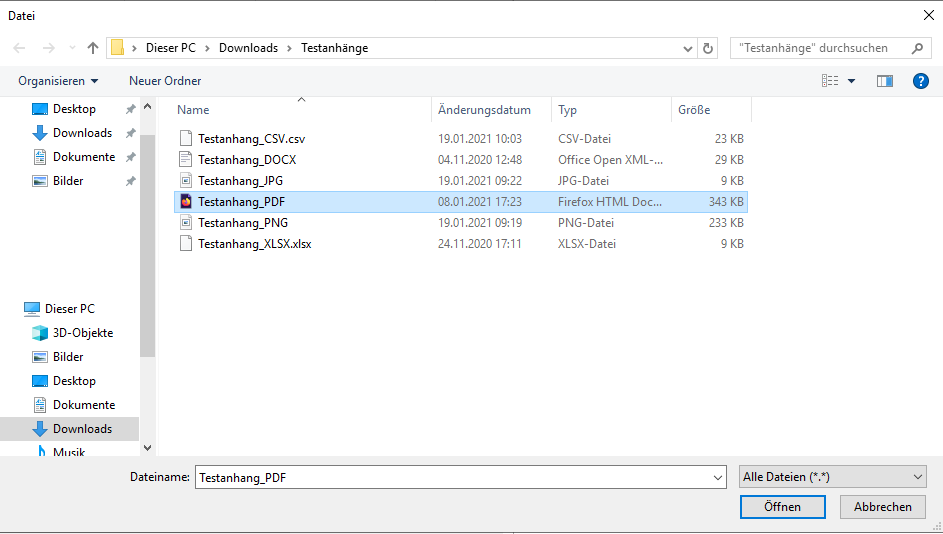
Select a file you want to attach and press Open.
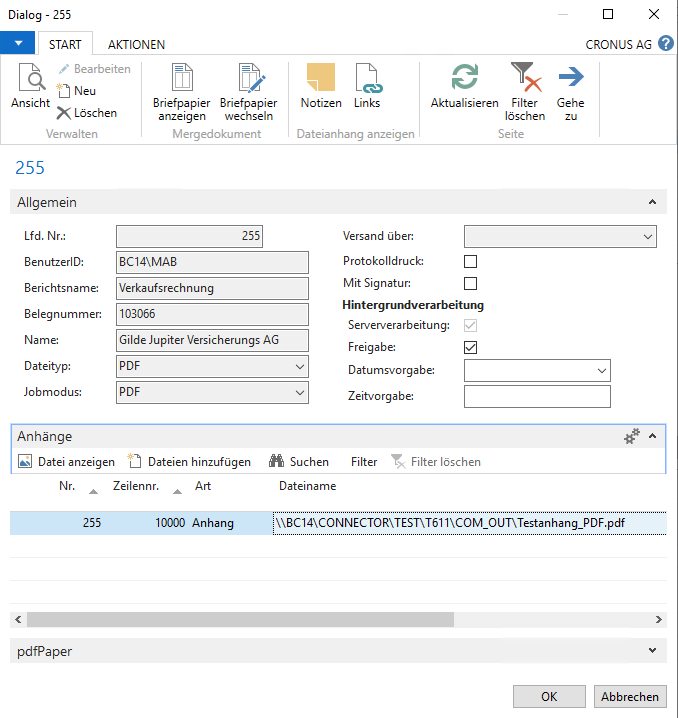
Result
The selected file is now displayed as an attachment in the dialog box. Now click OK to generate an XRechnung. The generated XML file should now contain an entry for attachments.

This entry is followed by the attached file, encoded in Base64 format. The encoded strings are usually very long, as can be seen in the following test report:
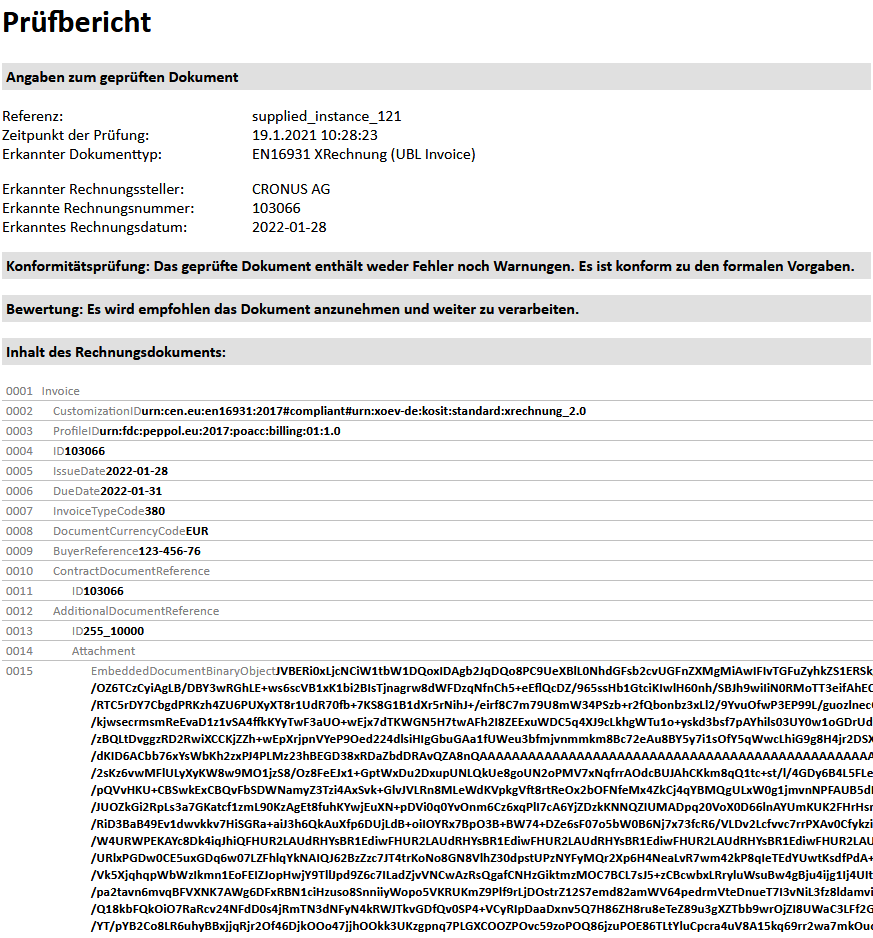
The public receivers are able to decode these encoded strings and thus recover the original attachment files.
